Luxario
Using cutting edge real-time render & 3D printing tech alongside modern branding to create an overnight fingerboard industry phenomenon
00


Prologue
For the uninitiated fingerboarding is the act of riding miniature sized skateboards with your fingers as if they're real skateboards; doing the same, if not even more complicated, tricks and maneuvers found in the skating world. Most people may know of this industry from the popularized brand TechDecks. Although a great company, fingerboarding is much, much, more niche than that.
When I was a youngin' in the mid 2000s I was not only obsessed with computers and the ever-evolving tech landscape, but I was also obsessed with skateboarding. Seeing as I wasn't exactly comfortable with the idea of possibly hurting myself, I stumbled upon the world of fingerboarding through the very early YouTube. Needless to say I was sucked in. From learning how to ollie, kickflip, grind, etc. to learning how to make my own wooden fingerboard deck out of common craft supplies.
At this time I wasn't the only person toying with creating their own fingerboard parts from scratch and reselling them on self-made websites. Many kids like myself were aspiring to build "empires" the likes of BlackRiver, FingerboardStore, Yellowood, or FlatFace Fingerboards. These companies were not just creating authentic and extremely well-crafted wooden decks... they were also crafting new types of grip tape, trucks, bolts & screws, and wheels. Wheels that were not only lathed out of the same type of urethane found in skateboard wheels, but also miniature stainless steel ball-bearings to match. This was the real turning point for the fingerboard industry and quite honestly the most lucrative.
Anyone and everyone in fingerboarding wanted to find out how they could make their own wheels. It was, and still is, a pretty hush-hush side of the industry that few care to shed light on, as doing so could possibly cause a ripple effect on the pricing of premium wheel brands.
Fast forward a few years and high school had begun. My passion for fingerboarding started to fade with it, only to eventually be completely set aside to gather dust as a vivid memory in my mind as I began exploring my career in software/game development, virtual reality, and the tech industry as a whole.
Then a pandemic happened.
Initial Idea
My initial conception for Luxario came during the beginning of the pandemic. As with most other people, I was left with more free time from not needing to commute to work that I began pondering on my past. Funny enough fingerboarding was one of those fond memories that I began to think of more often as I had to spend more time indoors. It was quite fitting really.
At the same time as this I also started to intensely explore 3D printing, specifically resin 3D printing. I was fascinated by just how insanely detailed models could emerge into reality. Not only are the finished models of very high detail, but depending on the resin used, could also have very unique and durable properties.
When creating a wooden fingerboard deck, even skateboards, the shape is just as crucial the wood and glue. These deck shapes are formed using molds. Molds typically consist of a bottom/top shape mirrored such that the wood is sandwiched in-between. In the fingerboard world, people create these molds using other fingerboards, CAD software and milling stainless steel, pouring resin, bondo, wood, FDM 3D printing... the list goes on really. But the glaring issue is the shape. Where do people come up with the shapes for the their molds? What if I made it easy for anyone anywhere to create a completely custom and unique fingerboard mold shape and get it delivered to their door?
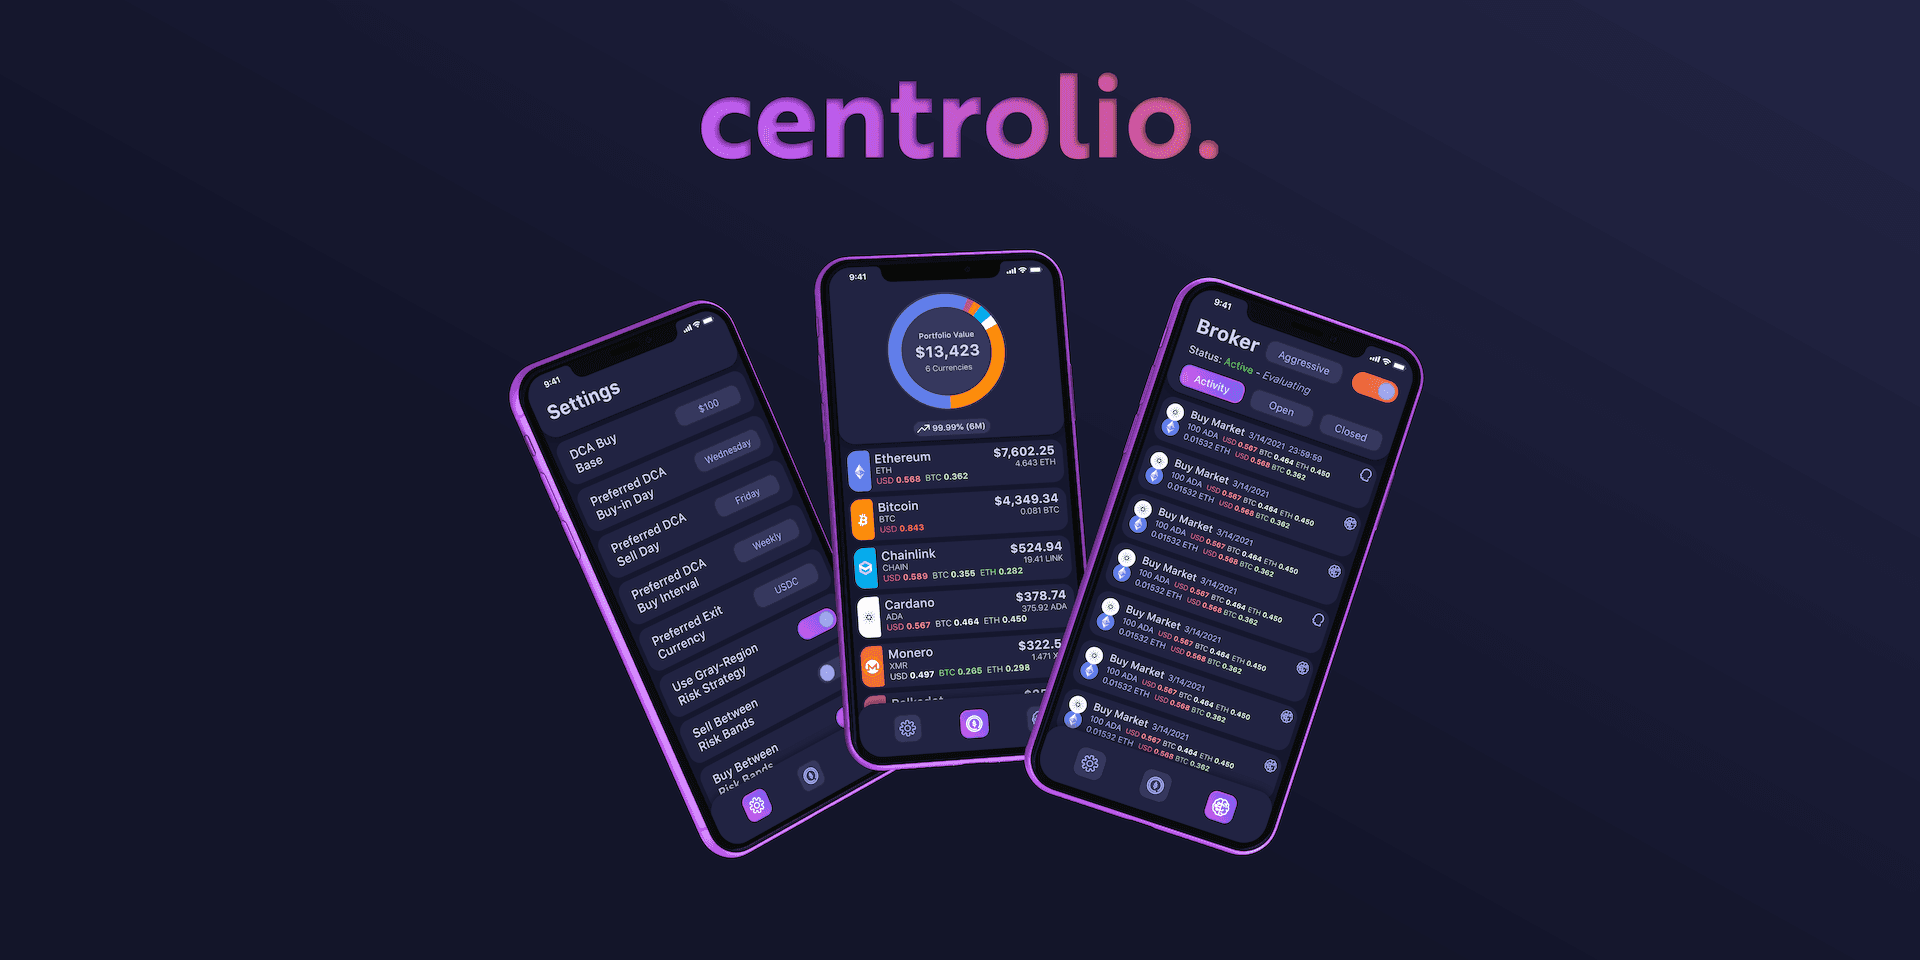
Enter the Luxario Configurator mobile app.
Within the span of just a few weeks I had used Sketch, Photoshop, Unreal Engine 4, Substance Painter, 3ds Max, Wordpress, and a ton of rapid iteration to create a mobile app that allowed a user to configure a 3D model of a fingerboard mold on iOS using only sliders, submit an order, and I would 3D print and ship it directly to them. Unfortunately, this idea was dead on arrival, with many people in the fingerboard community seeing this as an "outsider" or "corporate" thing to do. I had apparently gotten so excited about creating my idea that I didn't really stop to consider the optics of how everything was branded and launched in this community. This was very ahead of what anyone else was/is doing in the scene, and I don't think it was ready for something like this to come barging in. This isn't to say that everyone responded like this; there were actually quite a few voices that were happy to see fresh innovation in the space. Those voices were unfortunately not the majority, which was who I was targeting this towards.
On top of the optics issue that this presented, my calculations for resin consumption and print times were off to a degree that ultimately would have meant increasing the prices of each mold to an amount that would have been an unwanted turn off to most customers looking to purchase a fingerboard mold.
Although I did end up going back to the drawing board to figure out how what to pivot to (scroll down further to find that info), I was able to capture some small snippets of progress in the brief time that I worked on this initial idea alongside setting up my 3D printing workspace.
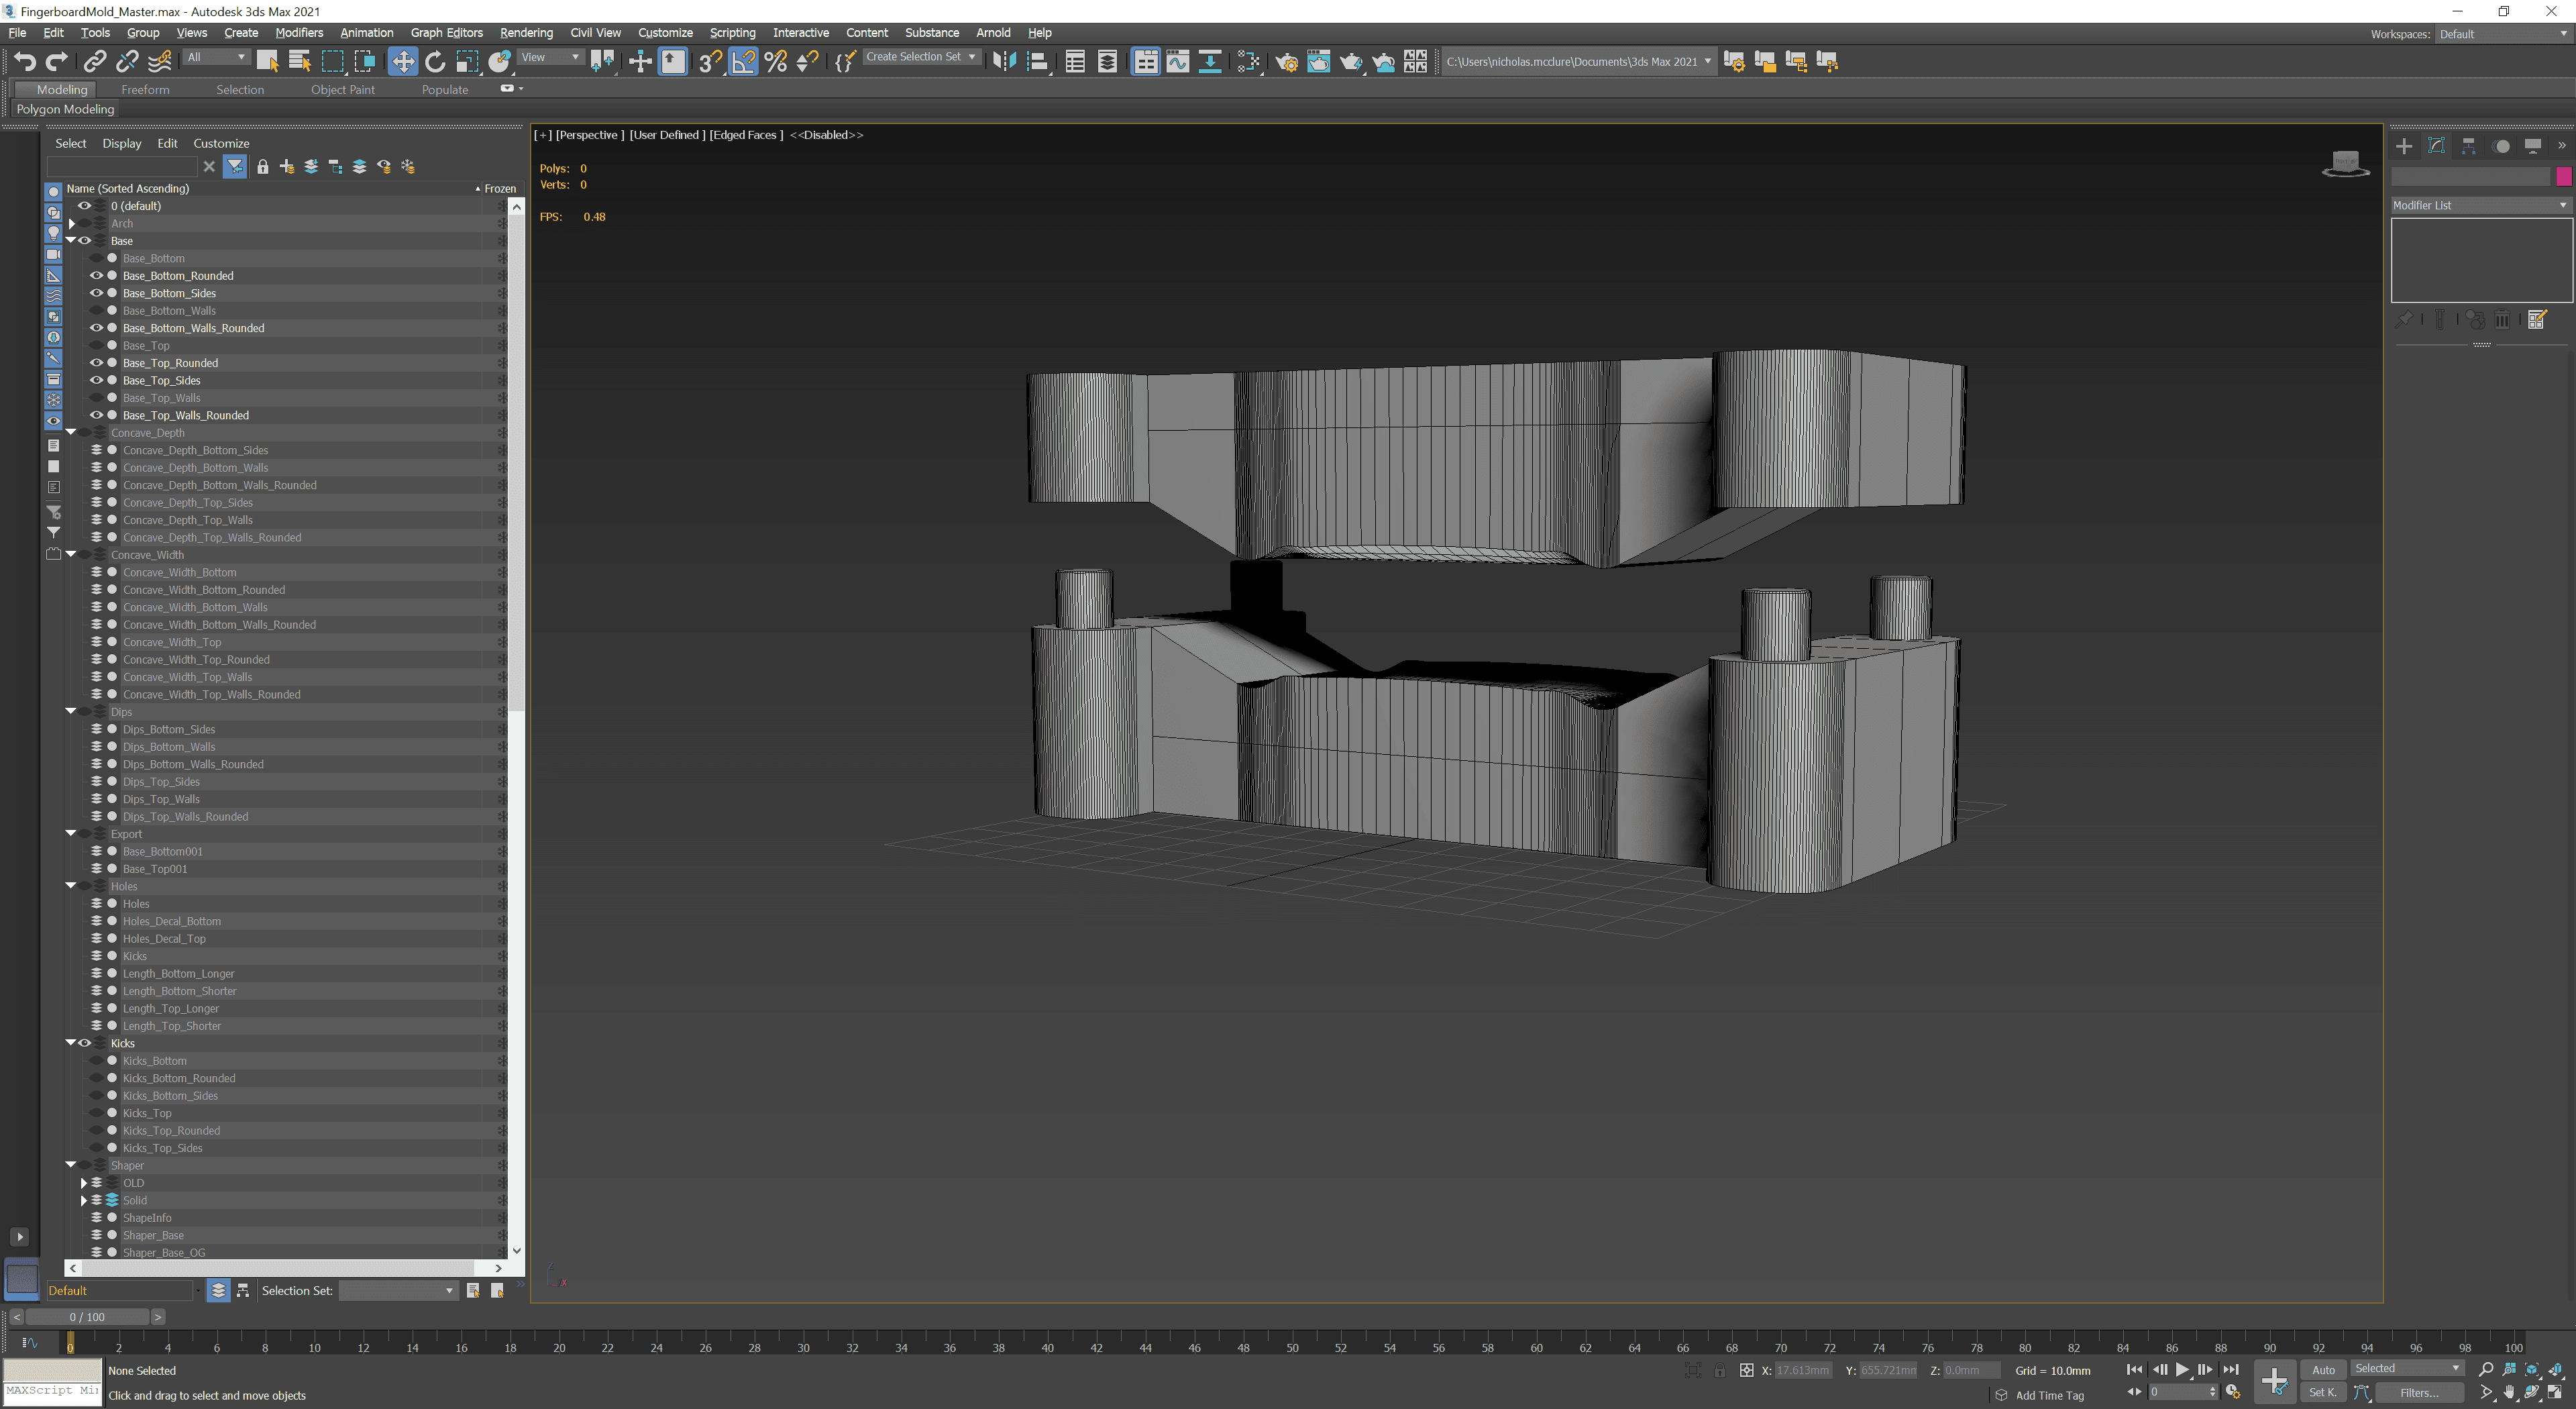
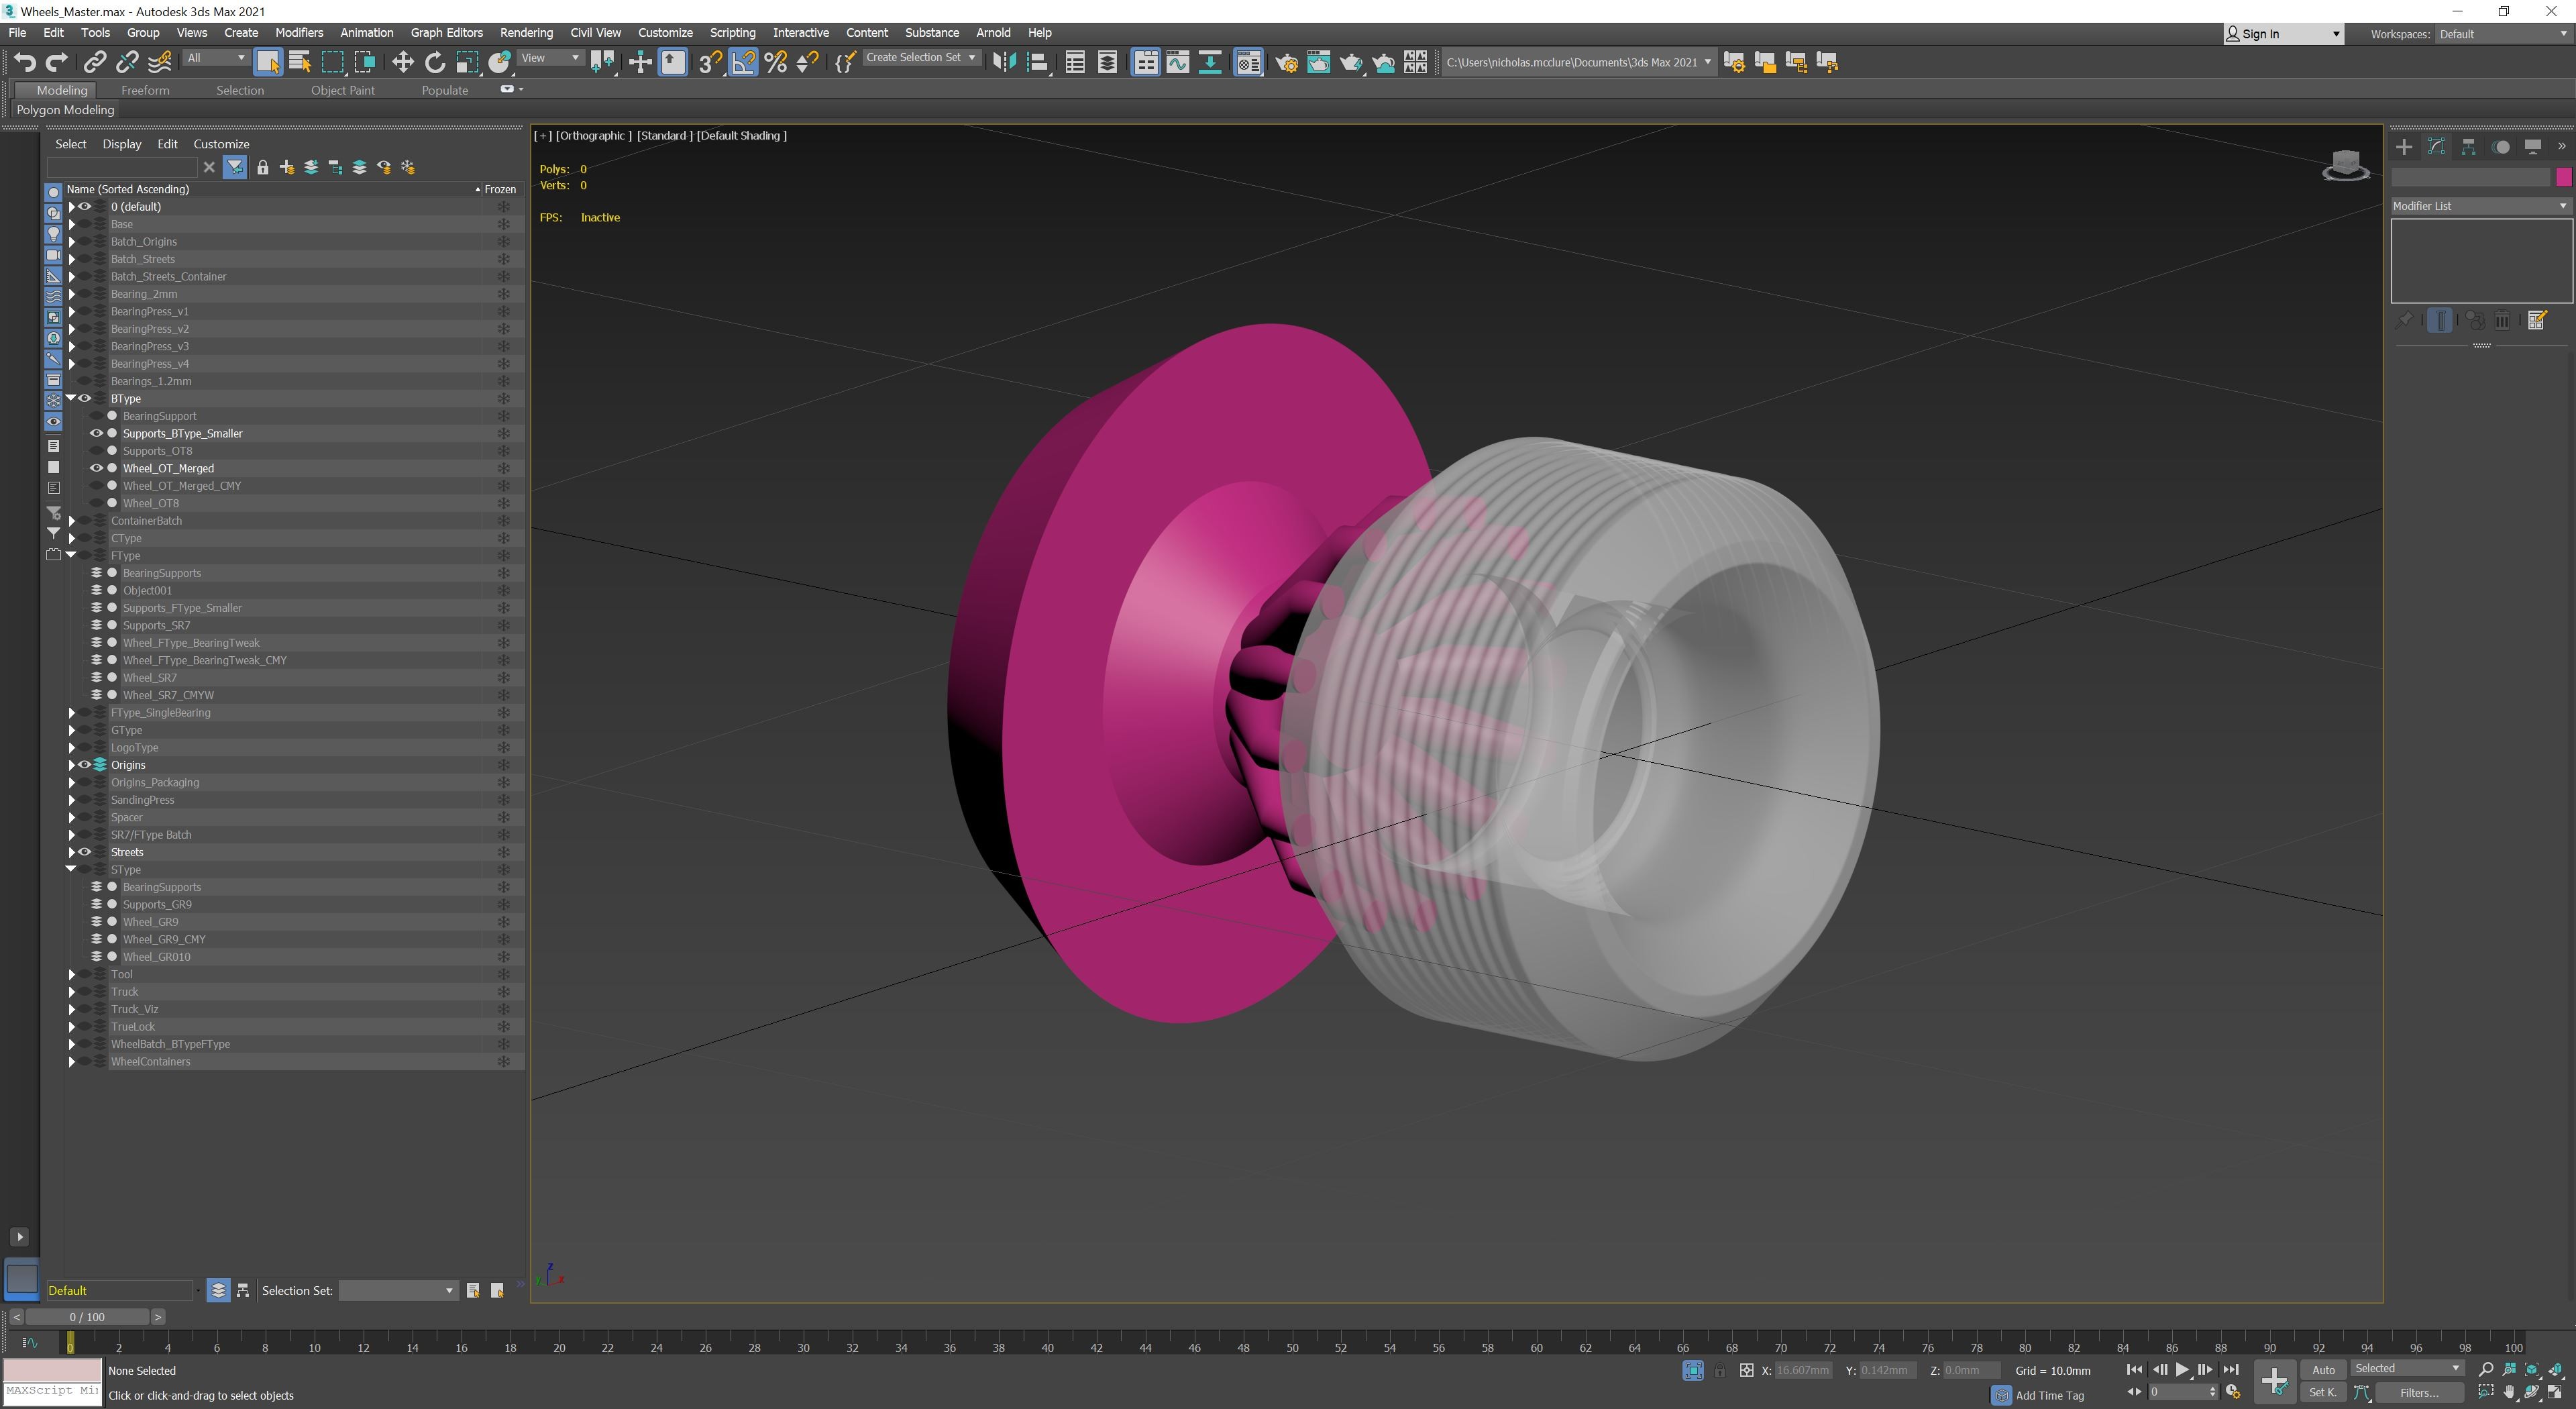
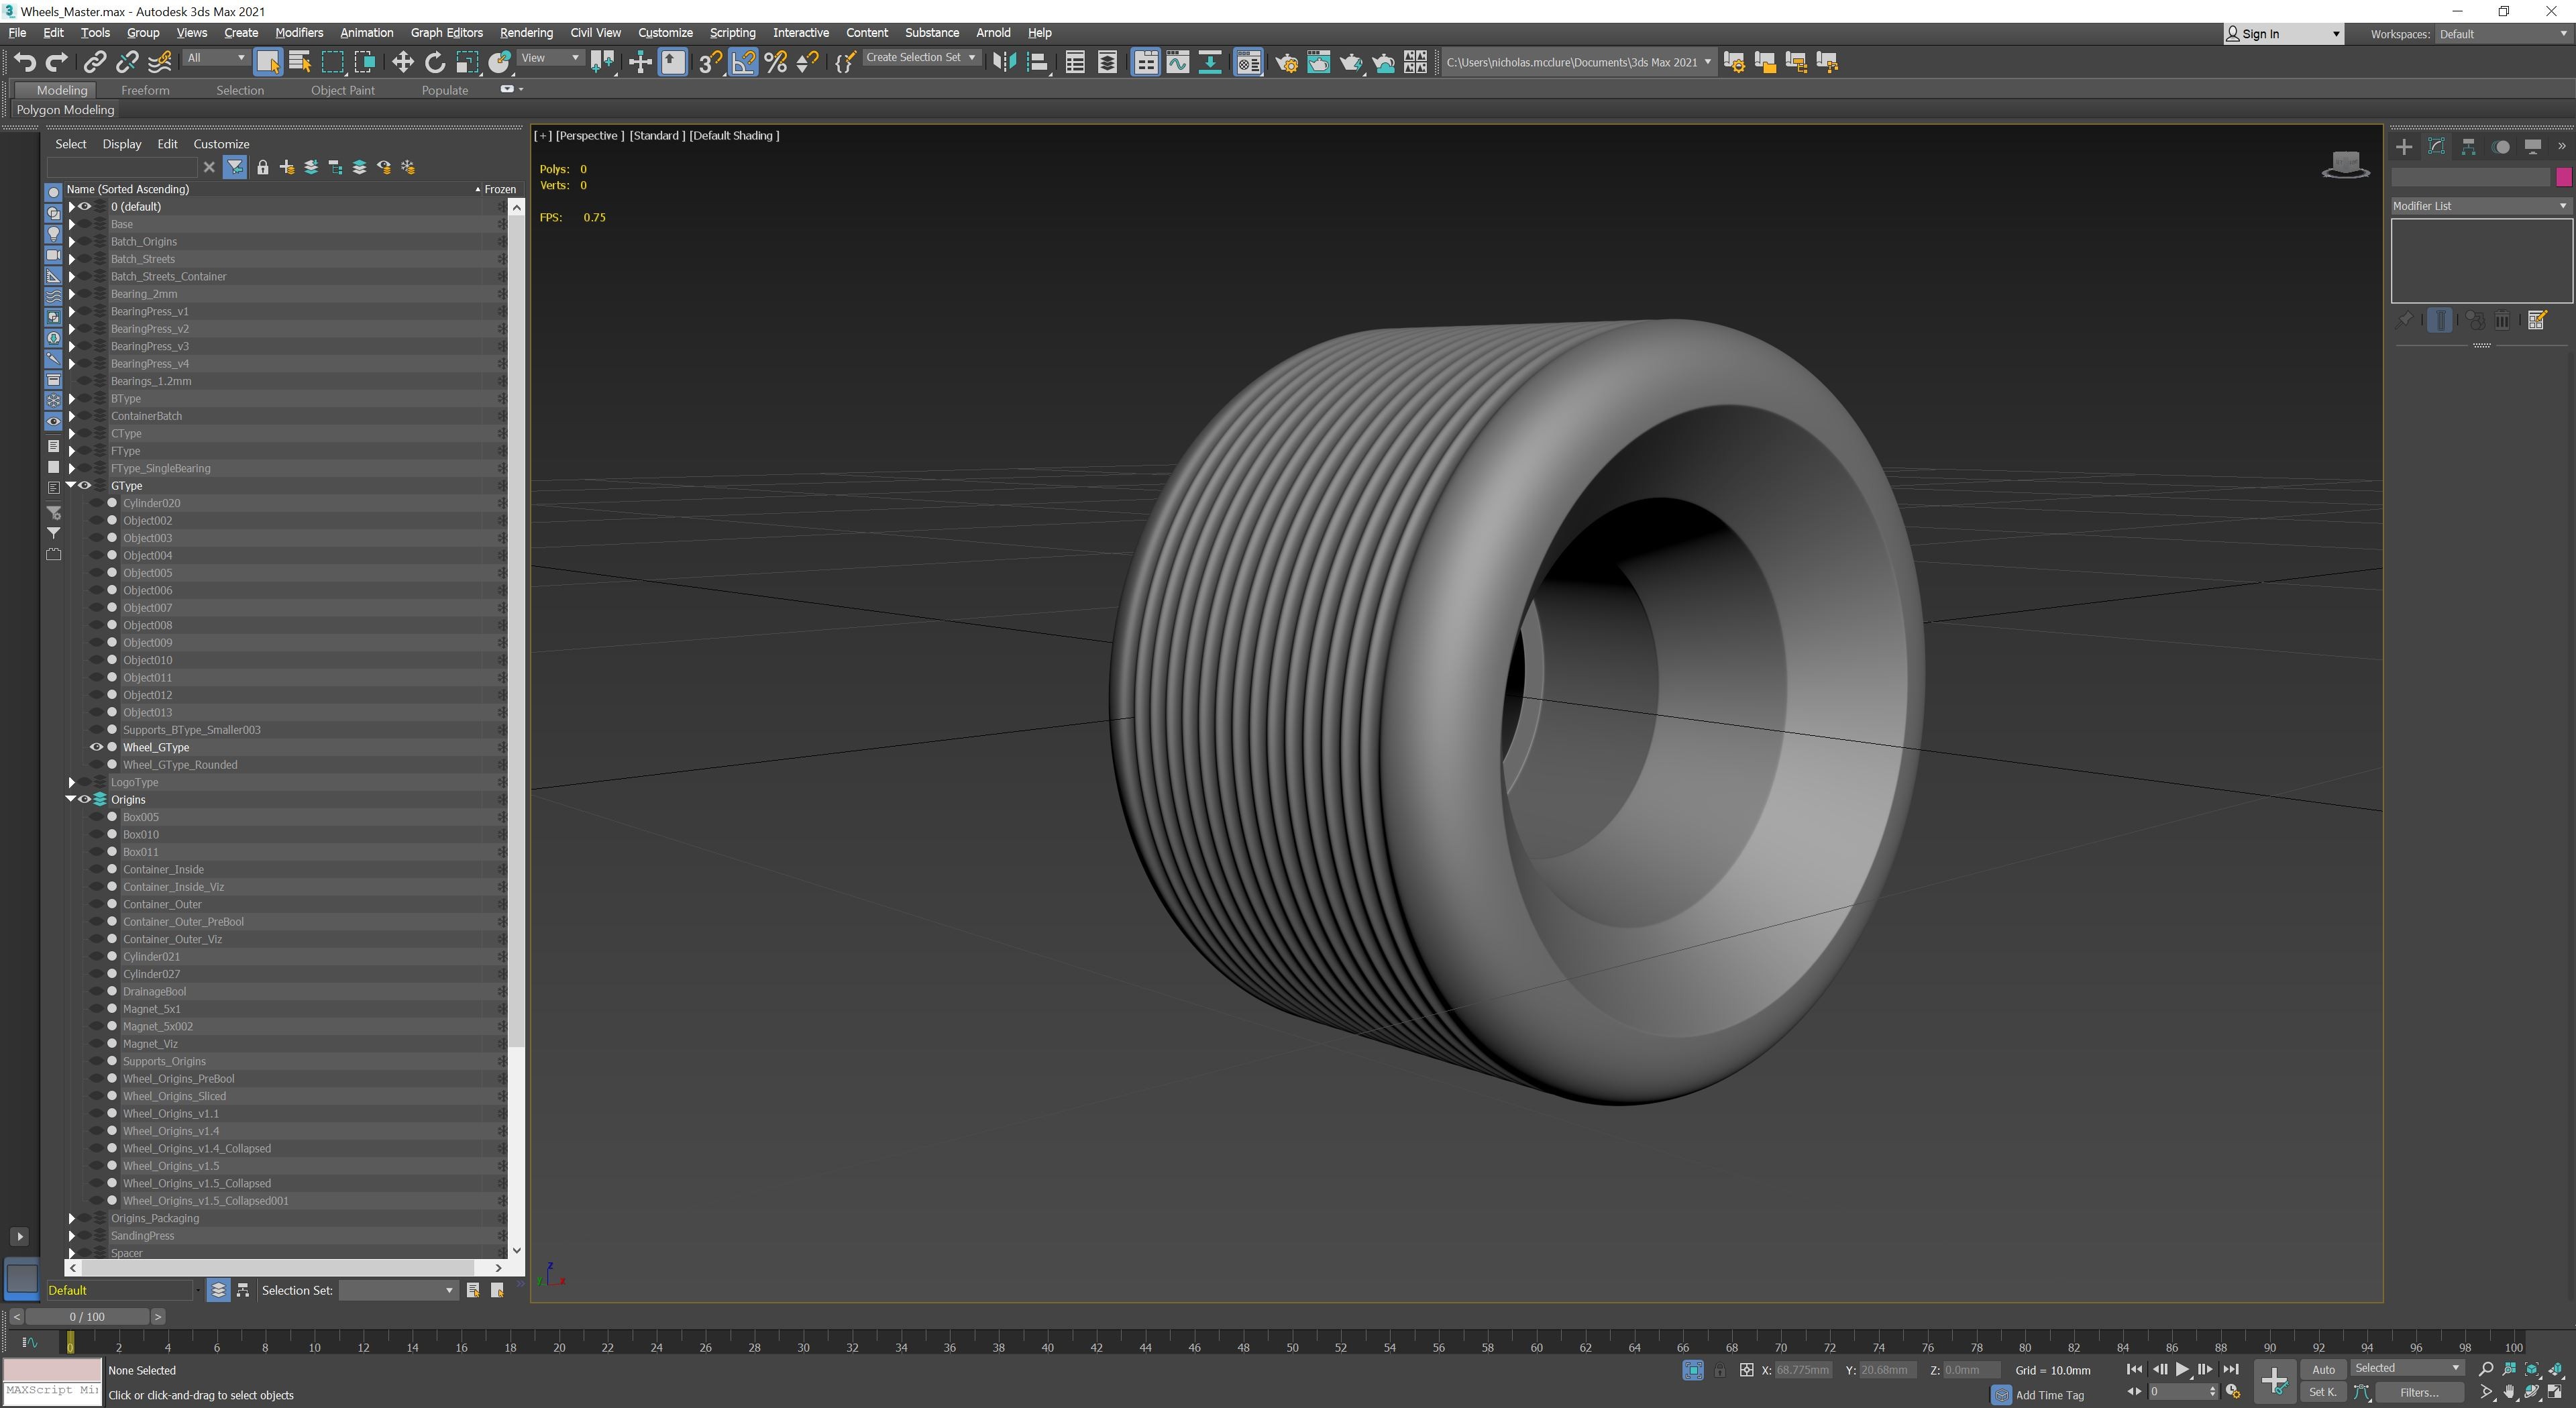
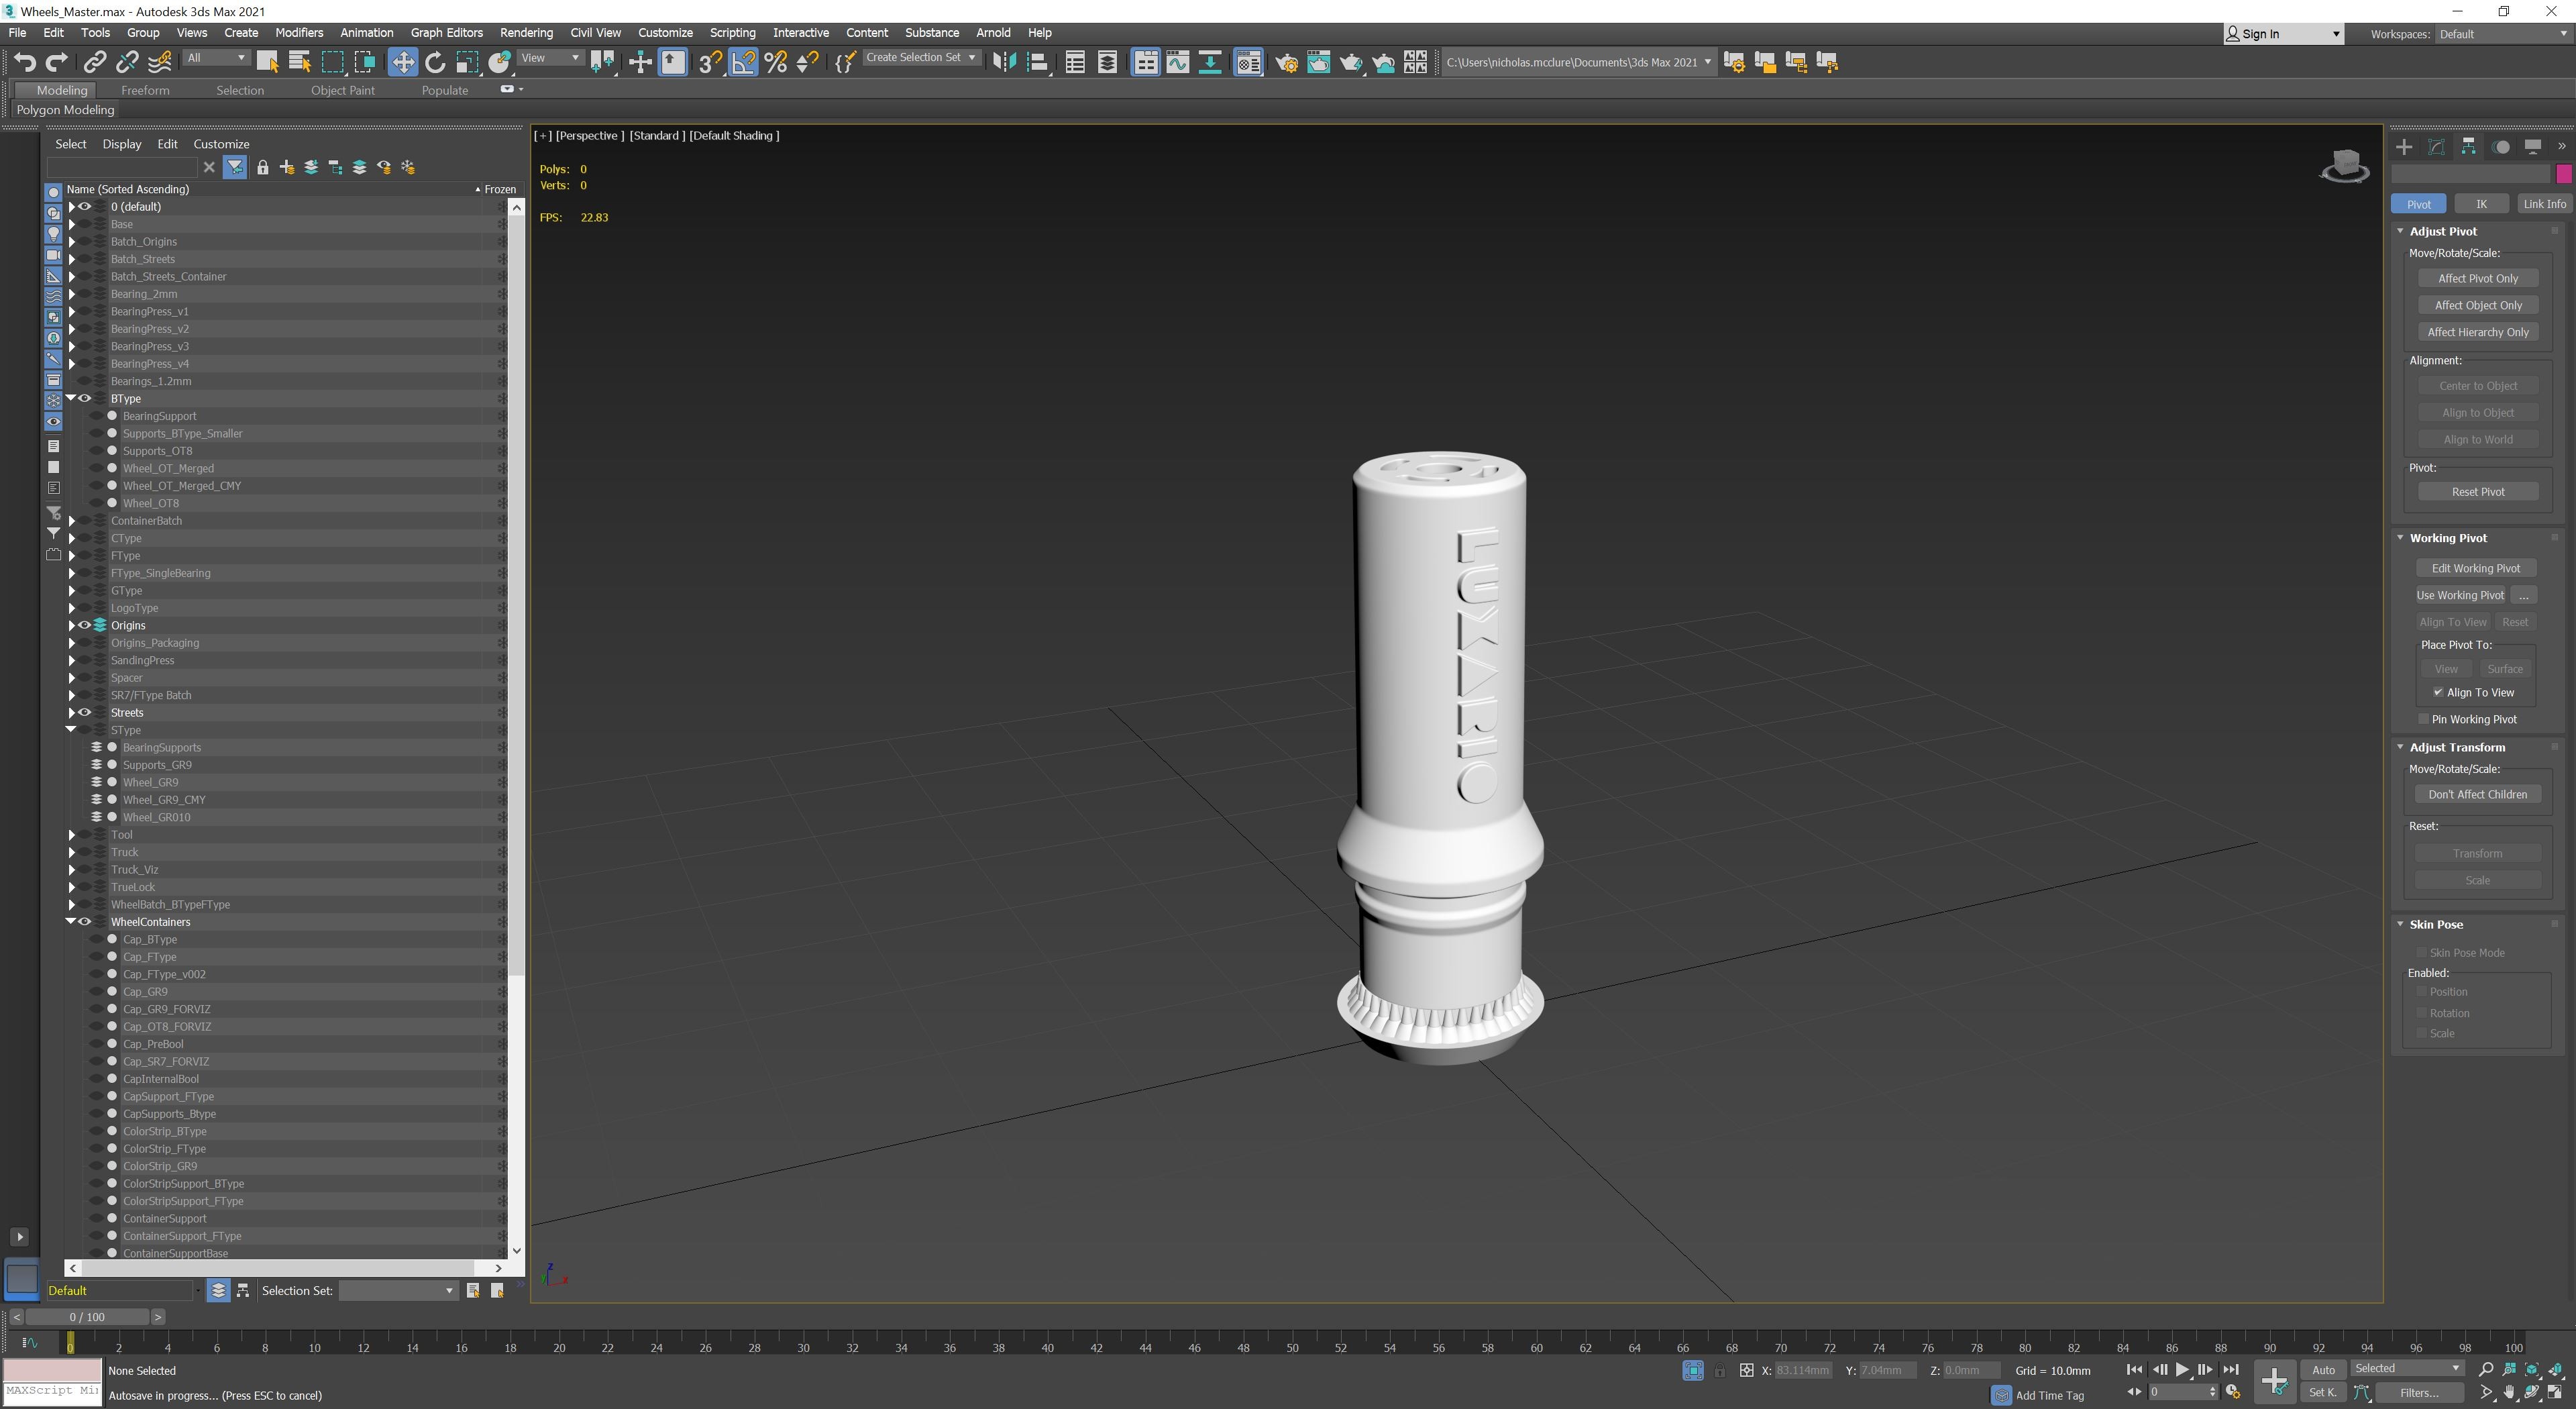
This is the 3ds Max scene where all of the blend shapes were made for each piece of the mold to be used in Unreal Engine. There were a lot of moving pieces involved here (as seen in the outliner) in order to prevent broken normals in Unreal Engine.
This was just a short and sweet progress update on the UI for Instagram followers. This was taken in the Designer view of the master UMG widget that contained all of the children UI widgets. As you may or may not be able to tell, I was developing this on my Mac to make build testing much faster more simplified.
Here's the app working on the min spec iPhone 8 as well as me printing the exact mold that I configured as seen in the app!
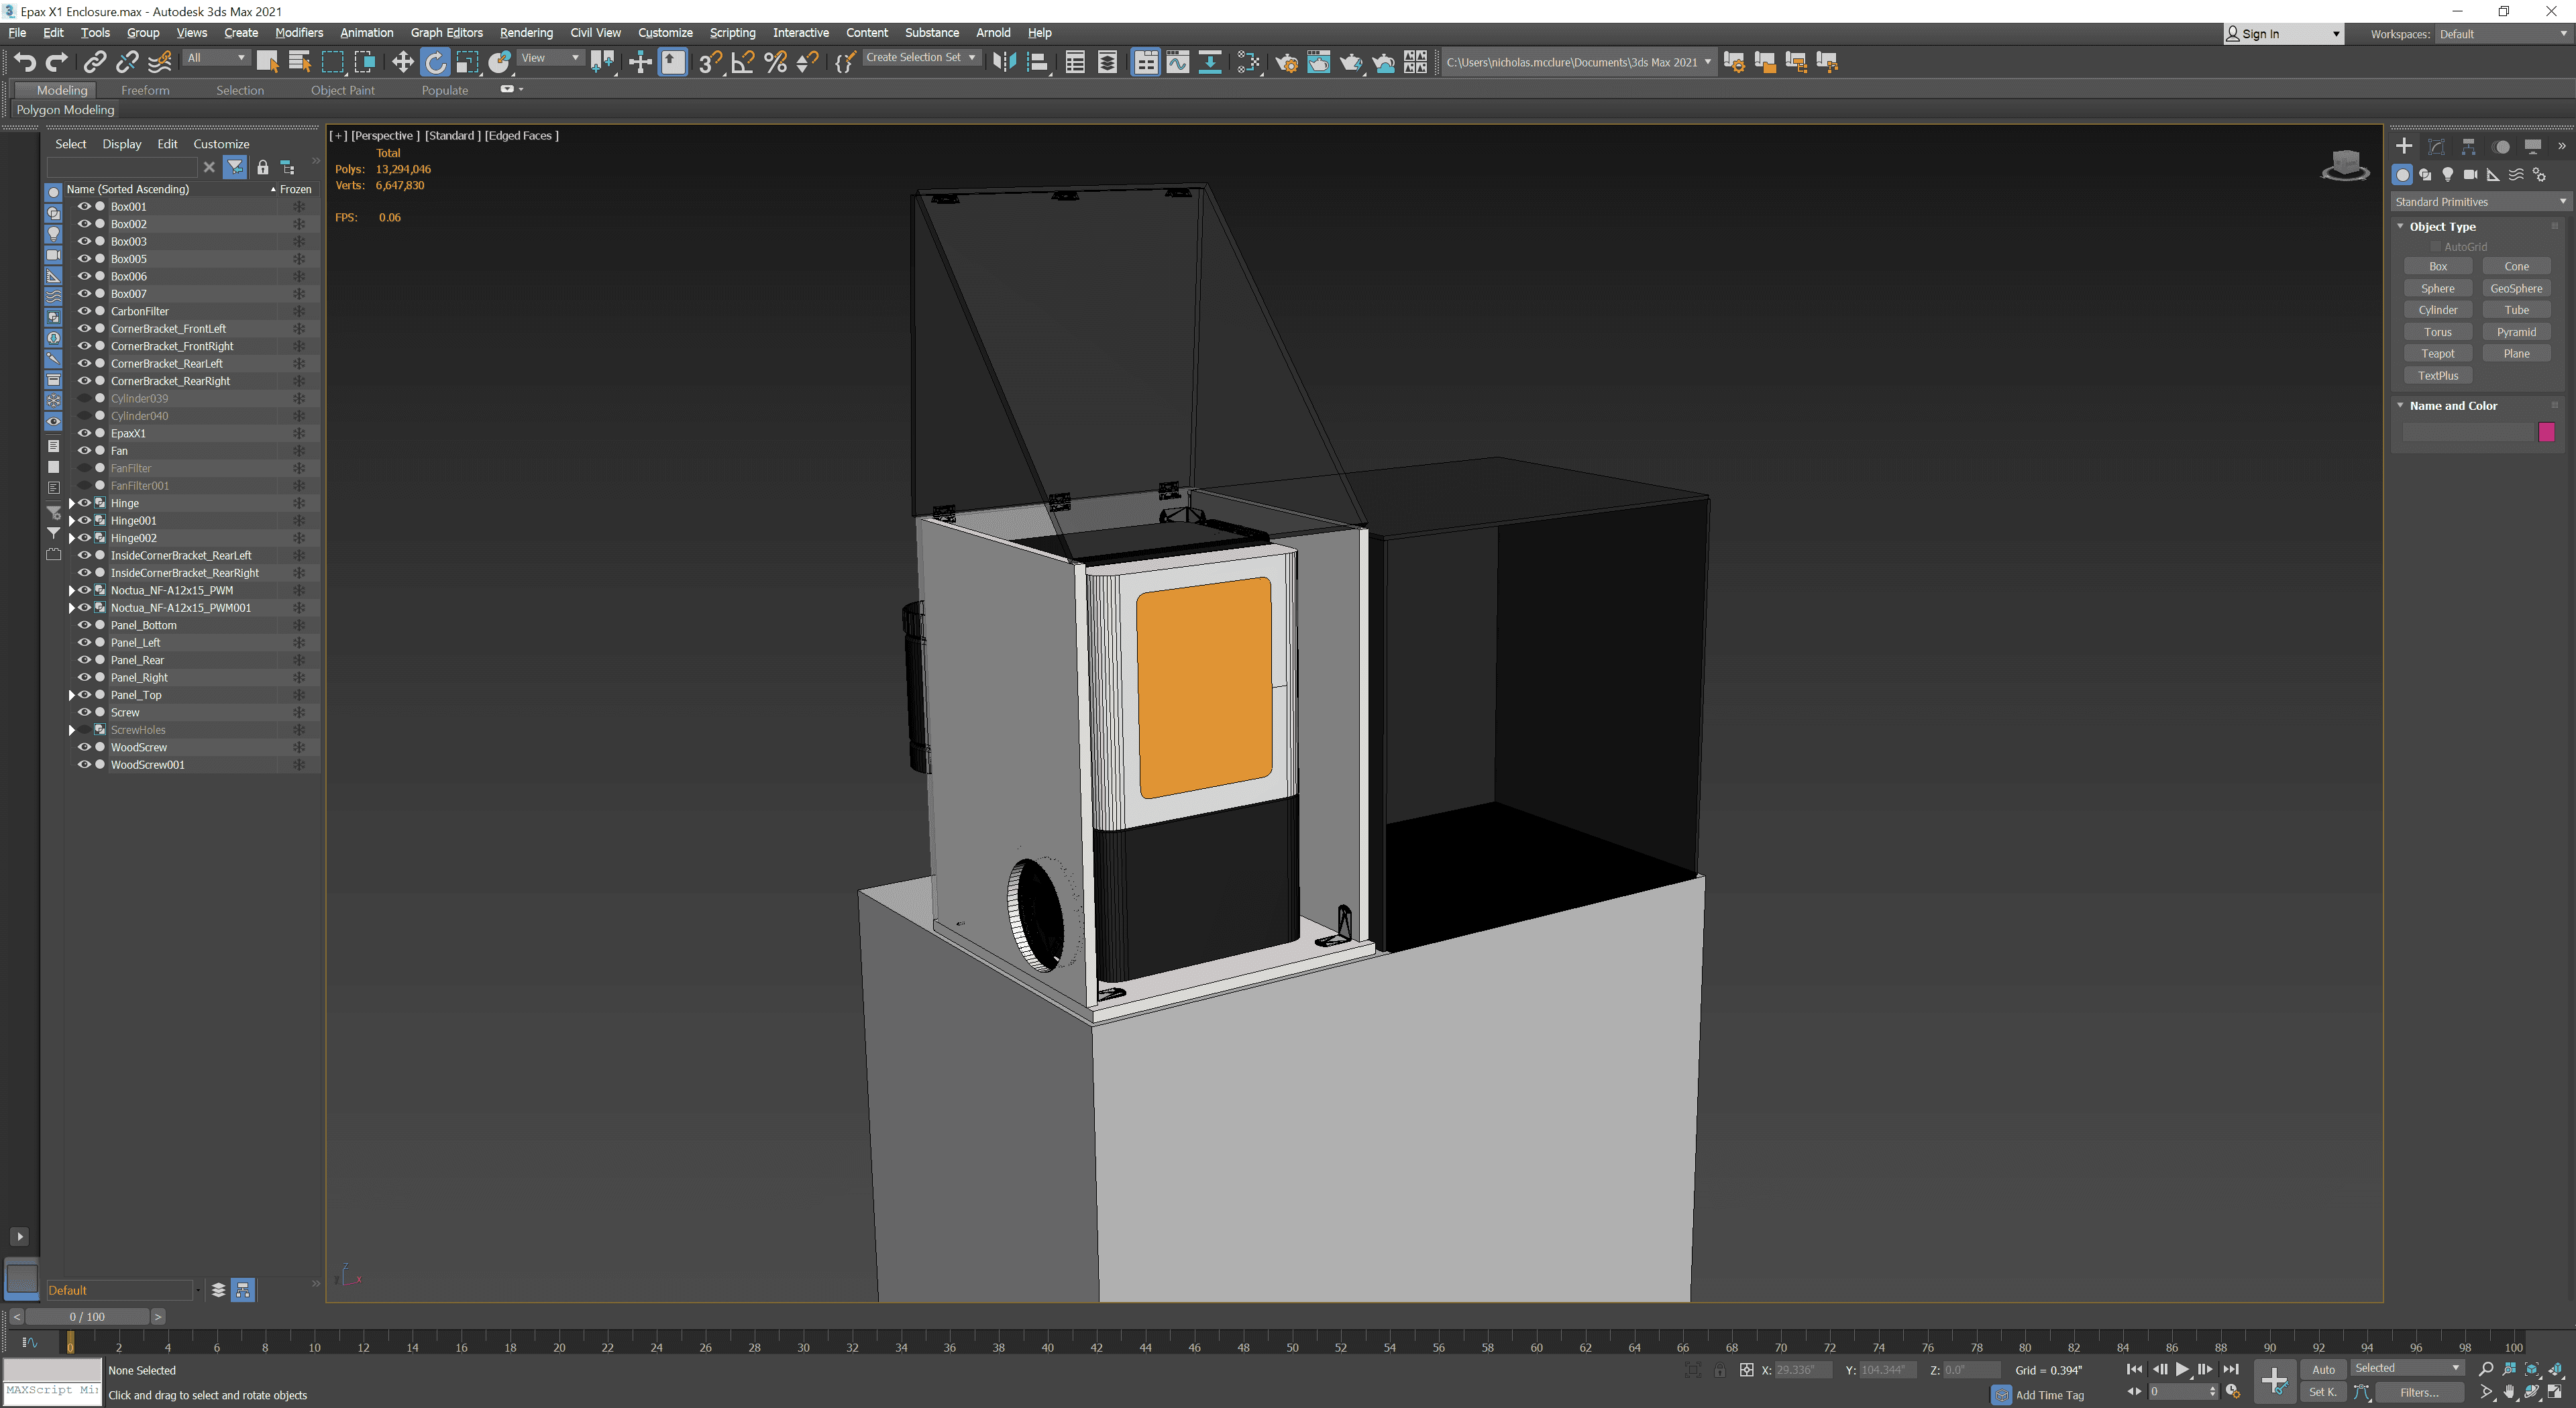
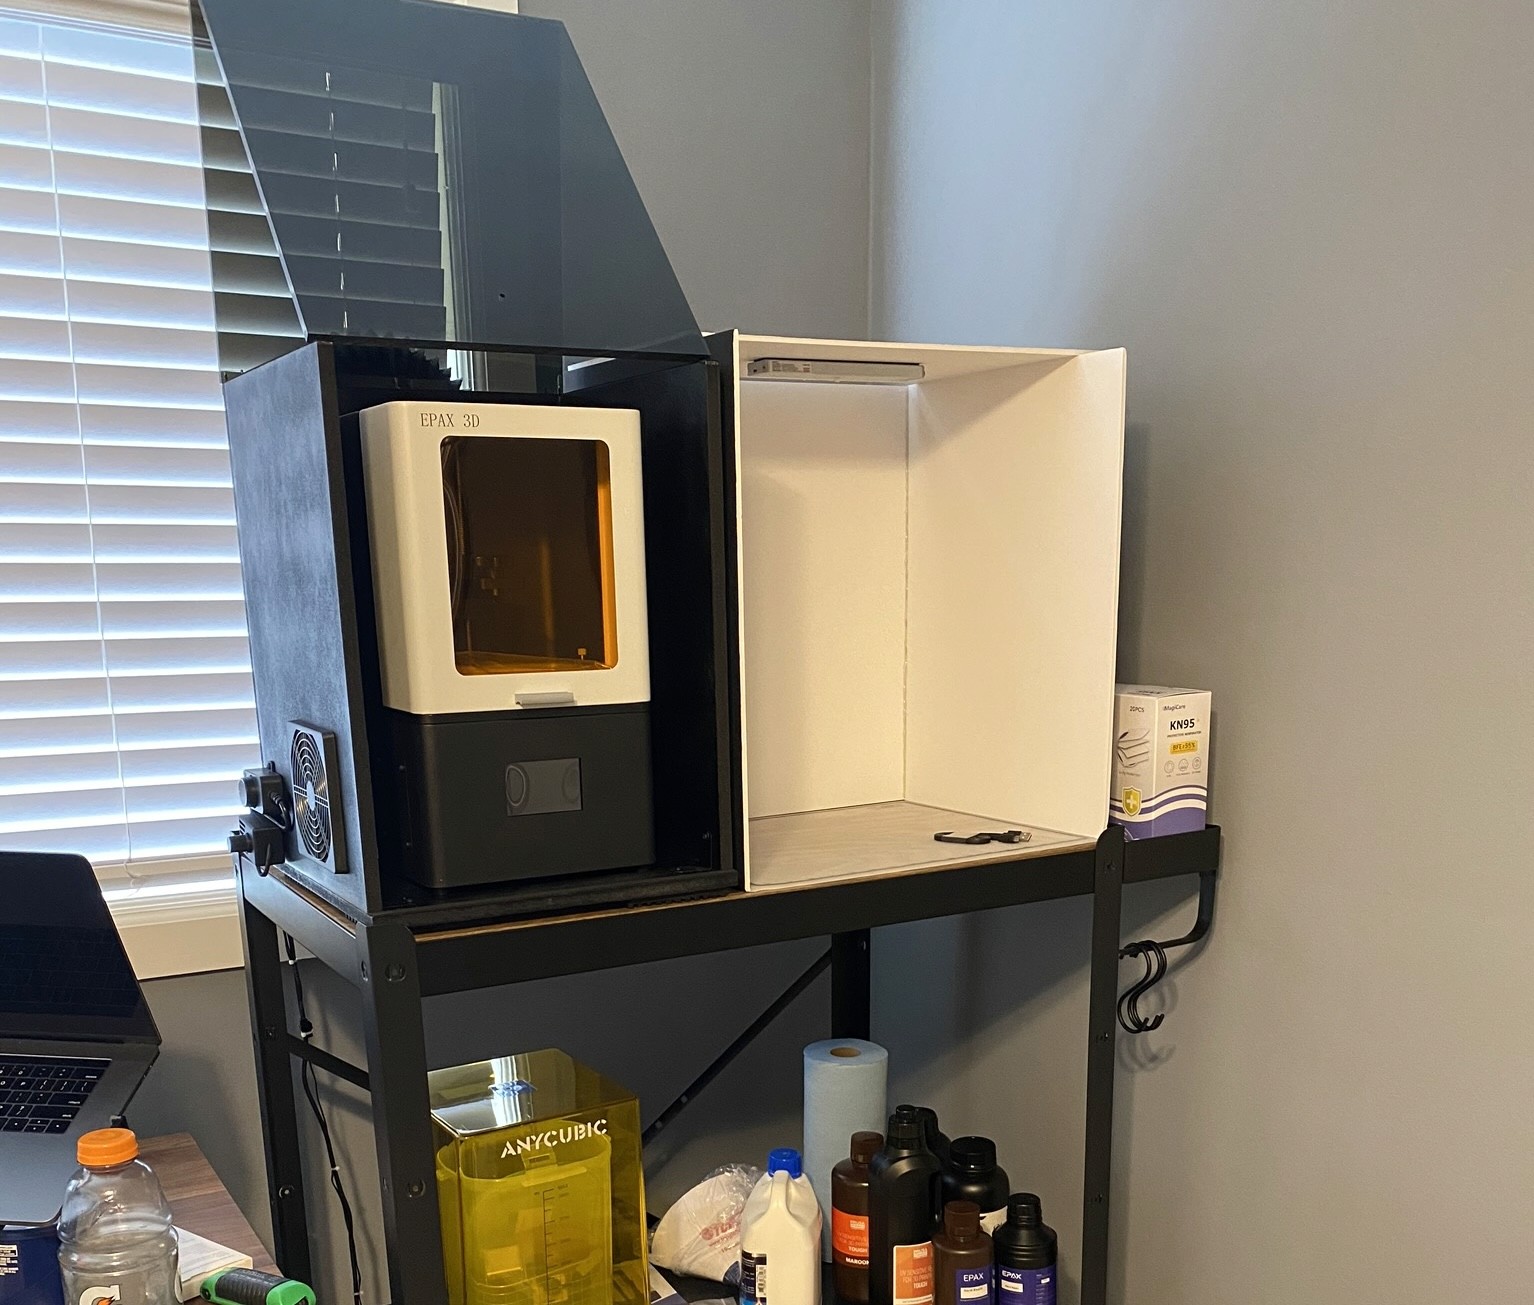
This is the resin 3D printing station that I ended up first designing in 3ds Max and then turning into a reality using IKEA, custom cut MDF, custom cut acrylic, poster board, McMaster, inline fans, carbon filtration, a wash and cure machine, and much more. I wanted to streamline the post-processing steps as much as possible as well as filter resin fumes as best as I could, so this is what I conjured up. I of course had to paint the printer enclosure matte black... naturally.
The Actual Idea
Upon realizing that I needed to pivot away from creating molds, I had quite the lightbulb moment. Fingerboard wheels are typically around 7-9mm in diameter with an almost equal width. If I designed the wheels correctly with the right resin formulation, support structures, and bearing insertion method, then I could print and post process 20-30 sets of wheels in just a day. This would mean that I could produce large quantities of premium wheels for very competitive pricing.
I immediately started listing out what I needed to achieve in order to successfully stand out as a fingerboard wheel maker:
Unique wheel designs
Completely bespoke wheel packaging
High quality bearings
Unique but durable wheel material
Custom colors
Custom tooling to make for streamlined in-house bearing insertion
Standout social media marketing
I ended up tackling each one of these tasks one-by-one with an excruciating amount of iteration and detail. So much so that I definitely will be summarizing quite heavily for all of these sections. If you've got a question it is very likely that over the course of the year that I worked on this that I asked myself the same... and addressed it in some form or another. No stone went unturned on this journey.
Unique Wheel Designs
I knew that for the initial launch of Luxario fingerboard wheels, I wanted to make sure that the 3D models that ended up being used for 3D printing could also be used for marketing content. Seeing as I'm an Unreal Engine fanatic I knew I was ultimately going to be using it create almost all of the Luxario advertisements, so why not use the exact 3D models that would also be used for the final tangible product?

This led to me using 3ds Max to model all of the wheel designs as well as the support structures that would ultimately be used for 3D printing. Typically most resin printing slicers like Chitubox will include automatic support generation, but in this case I needed perfectly uniform supports that also gave me complete control over dimensions and structure so I could maximize print speed and the amount of wheels I could make in one print, while also minimizing the additional resin usage from the supports. You'll see images of said supports in the wheel design images below (they're the magenta colored objects).
Over the course of 8 months I ended up designing and releasing four different wheel types, each with their own color variations. In total there were 13 different variations for customers to choose from, assuming they were in stock.

It probably goes without saying that designing these wheels to optimize for bearing security, traction, and riding forces took a pretty agonizing amount of iteration. But I guess that was just my introduction into physical product design and manufacturing... right? Luckily the EPAX X1K and Phrozen Mini 4K resin printers that I acquired are monochrome MSLA printers, meaning print speeds are extremely quick. When prototyping wheel designs I could make a tweak and have it printed and tested within an hour, which aided quite a bit. Designing, testing, and releasing a wheel only took a matter of a couple weeks rather than months as compared to other wheel makers. Not to mention fail rates are far better considering there is very little room for human error, whereas lathes require a lot of human accuracy. With objects so small you really can't afford any tolerance errors during production.
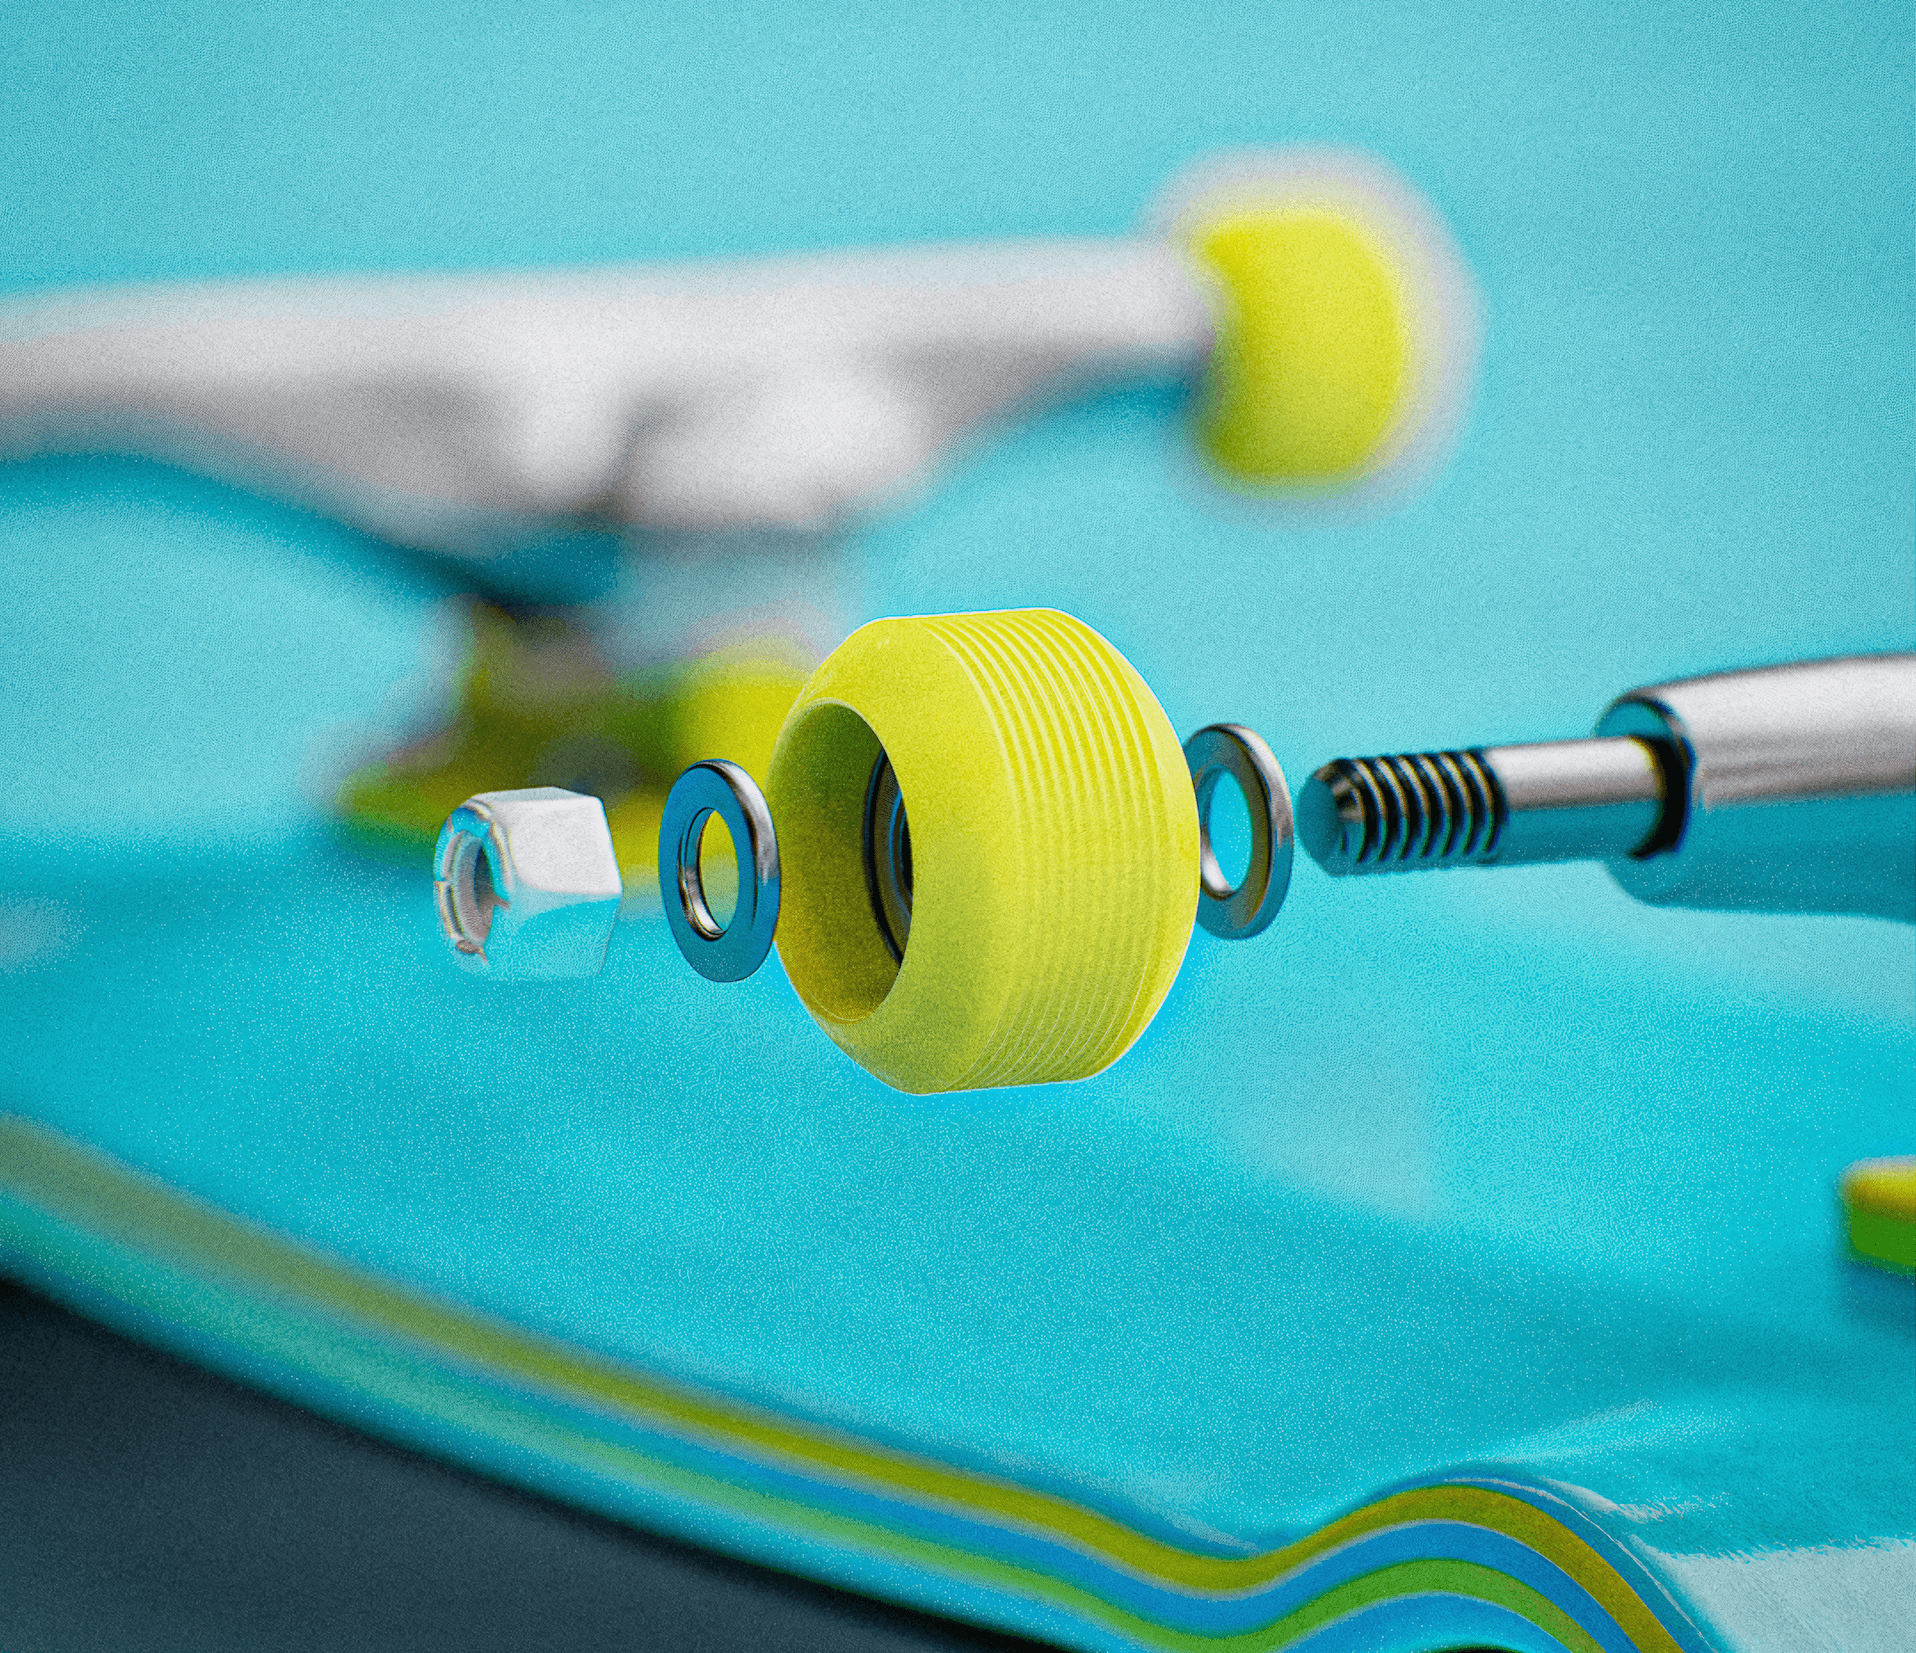
One aspect you may have noticed throughout all of the wheel designs is the presence of treads. This feature ended up being one of the defining features of Luxario wheels as there are no other wheel makers out there that can replicate such a thing with typical urethane lathing processes. Not only is this a visually defining feature, but it also provides a very unique riding feel that allows for both grip when you want it and slip when you need it.
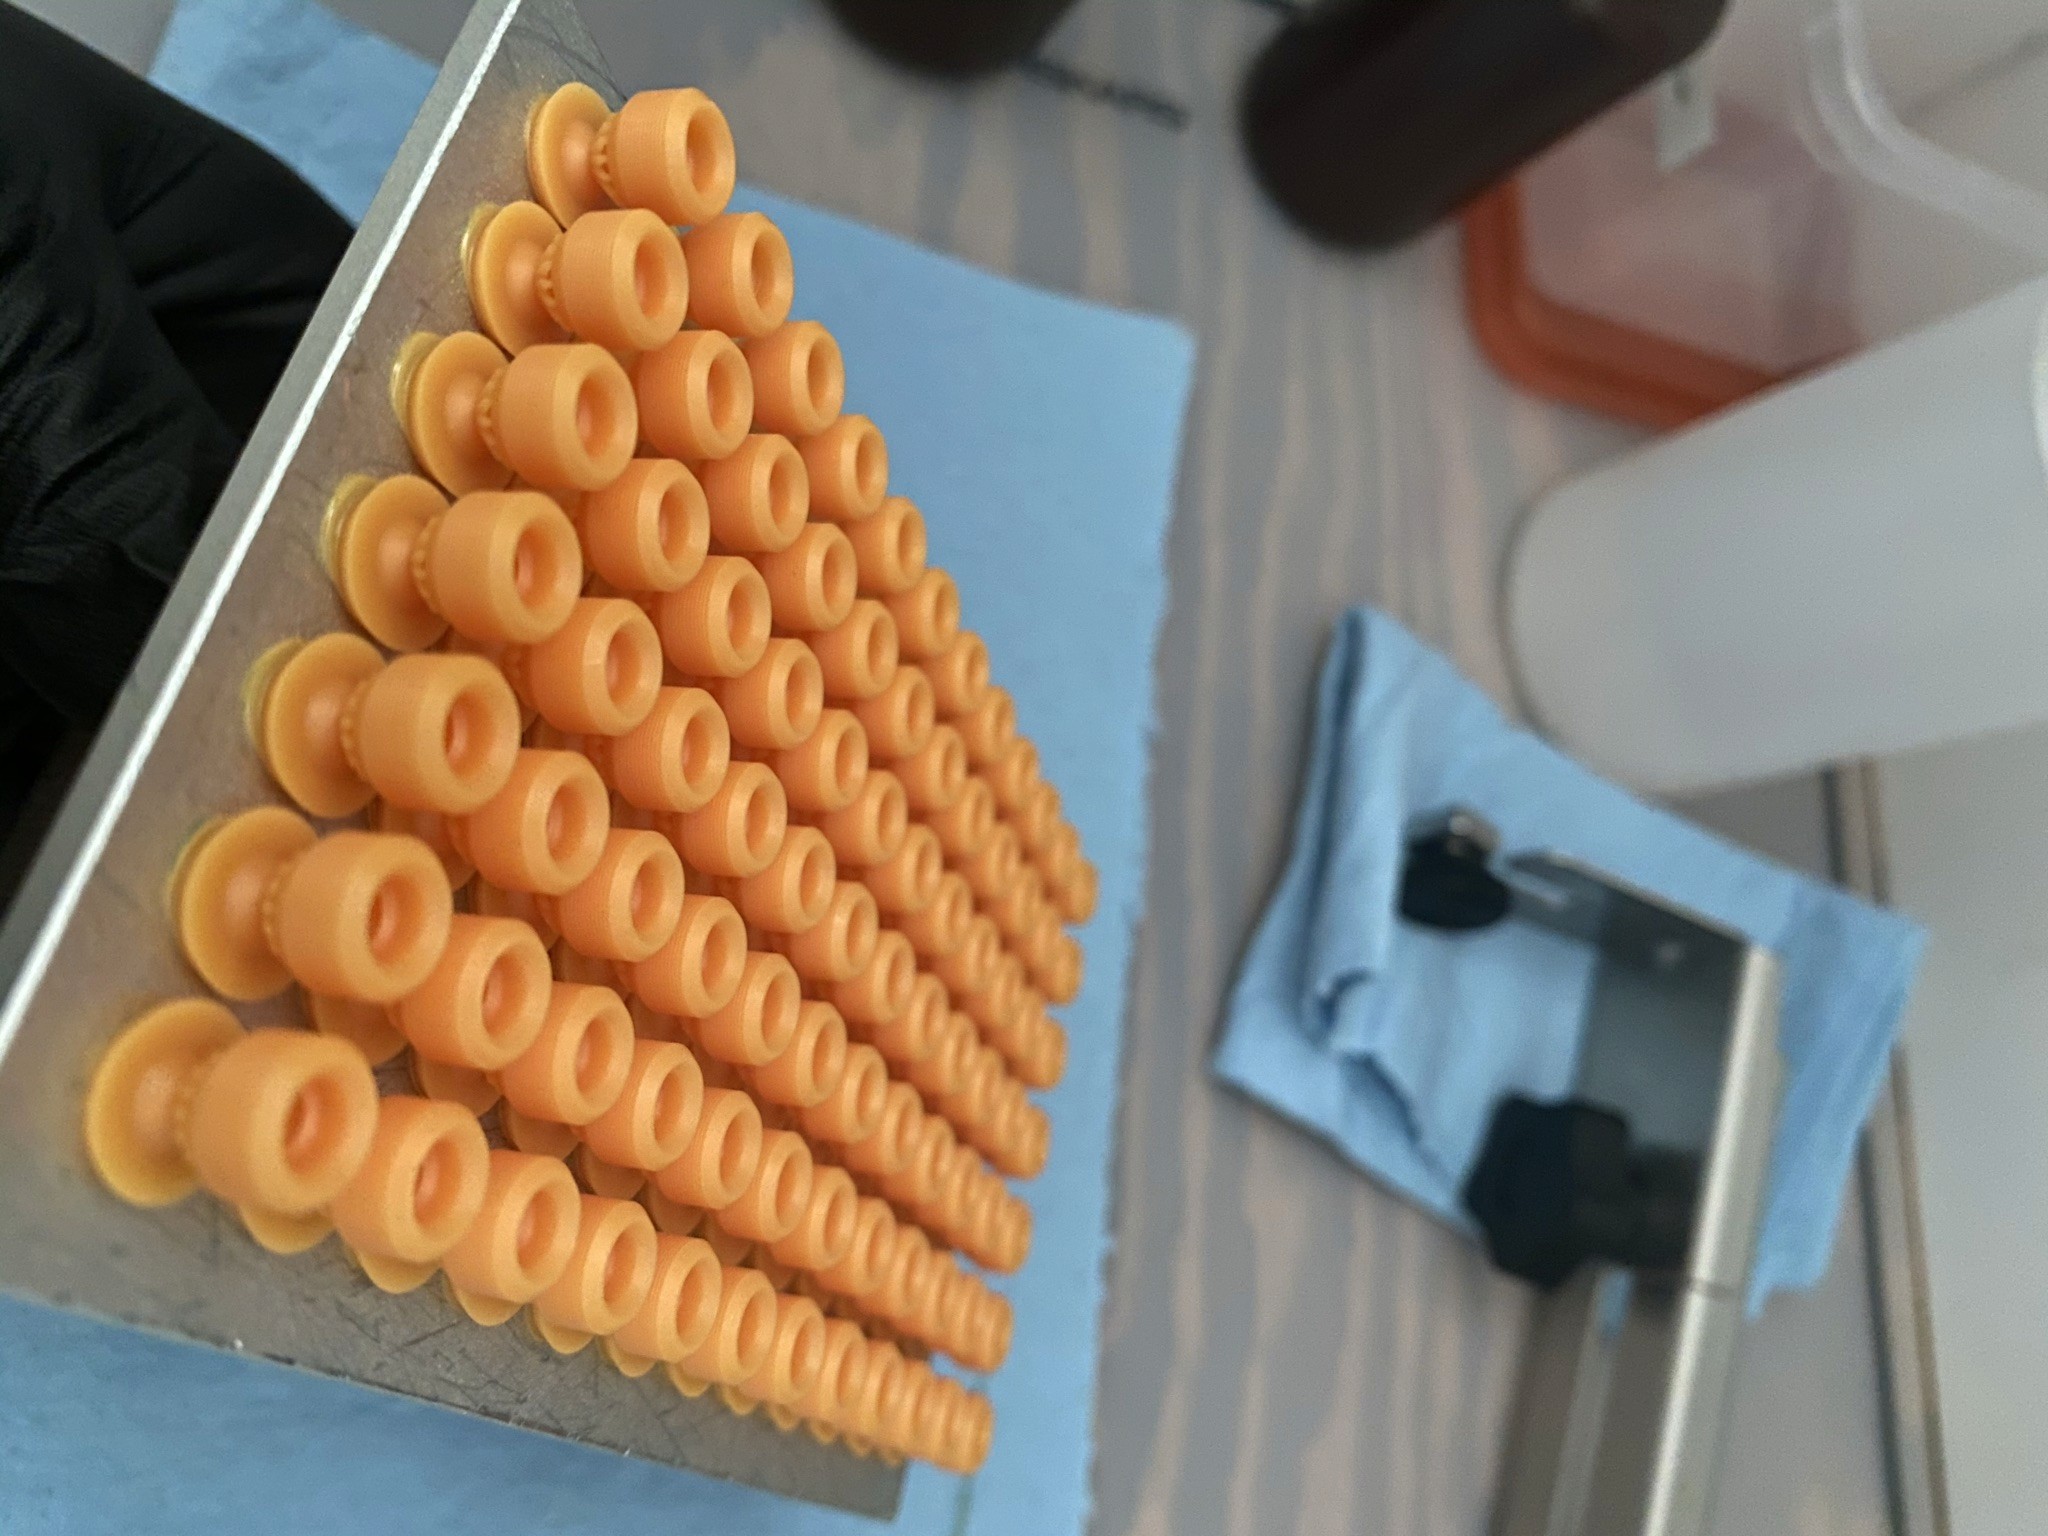
Here's an example of how a single print ended up turning out for the B Types. I could print as many as 84 B Types in a single print. And these were considered the larger variants. Smaller variants such as the F Types or Origins could net as many as 104 wheels in a single print.
Bespoke Packaging
One of the other aspects of fingerboard wheel makers that I always thought needed improvement was the packaging methods for the wheels. Although some wheel makers have some cool packaging, I wanted to create packaging that couldn't be purchased off of any shelf anywhere, so as to make the user experience feel that much more exclusive and unique.

For all four different types of wheels that I designed I ended up designing and manufacturing completely unique packaging for each in-house. In all honesty this may have been one of the most enjoyable aspects of the design process for me as it meant I could really think outside of the box and flex my product design muscles.
The first package design for the B Types and F Types consisted of three parts. One was the tube that held the wheels and then there was the snap-fit cap which also consisted of a colored strip which would display which color wheel was inside. All of these parts were resin printed in batches just like the wheels. The snap-fit took a few iterations to get get right as it required really tuning the tolerances correctly for the printer and the resin.
One trend you'll notice in this package design as well as future ones is the inclusion of holes at the top or bottom of pieces. This was primarily due to the nature of resin printing being a vertical print process. I would have to make creative use of holes in the package design to prevent resin from building up in unwanted places during printing and causing serious imperfections.
This ended up being one of my favorite package designs as it included both visual/functional improvements and manufacturing improvements. At a glance it may not be obvious how the top stays in place, but upon further inspection you'll find a neodymium magnet at the bottom of both the outer tube and the inner tube. This would result in a satisfying click when closing the casing. On top of that the color of the inner tube acted as an indicator for what color wheels would be inside.
For the manufacturing side of things this not only meant needing to print only two pieces compared to three, but it also meant I could print the pieces directly to the build plate, requiring zero supports. This was huge as it meant that once the print was done all I needed to do was rinse, dry, pop the pieces off and give them a quick UV cure. Whereas before it was a much more lengthy process due to the supports leaving small nubs that needed to be sanded off by hand... too much labor.
One of the downsides that ended up negatively affecting this design was the inclusion of the magnets. Some customers ended up experiencing strange bearing failures and I'm almost positive it had to do with the magnets dislodging some of the stainless steel ball bearings during shipment.

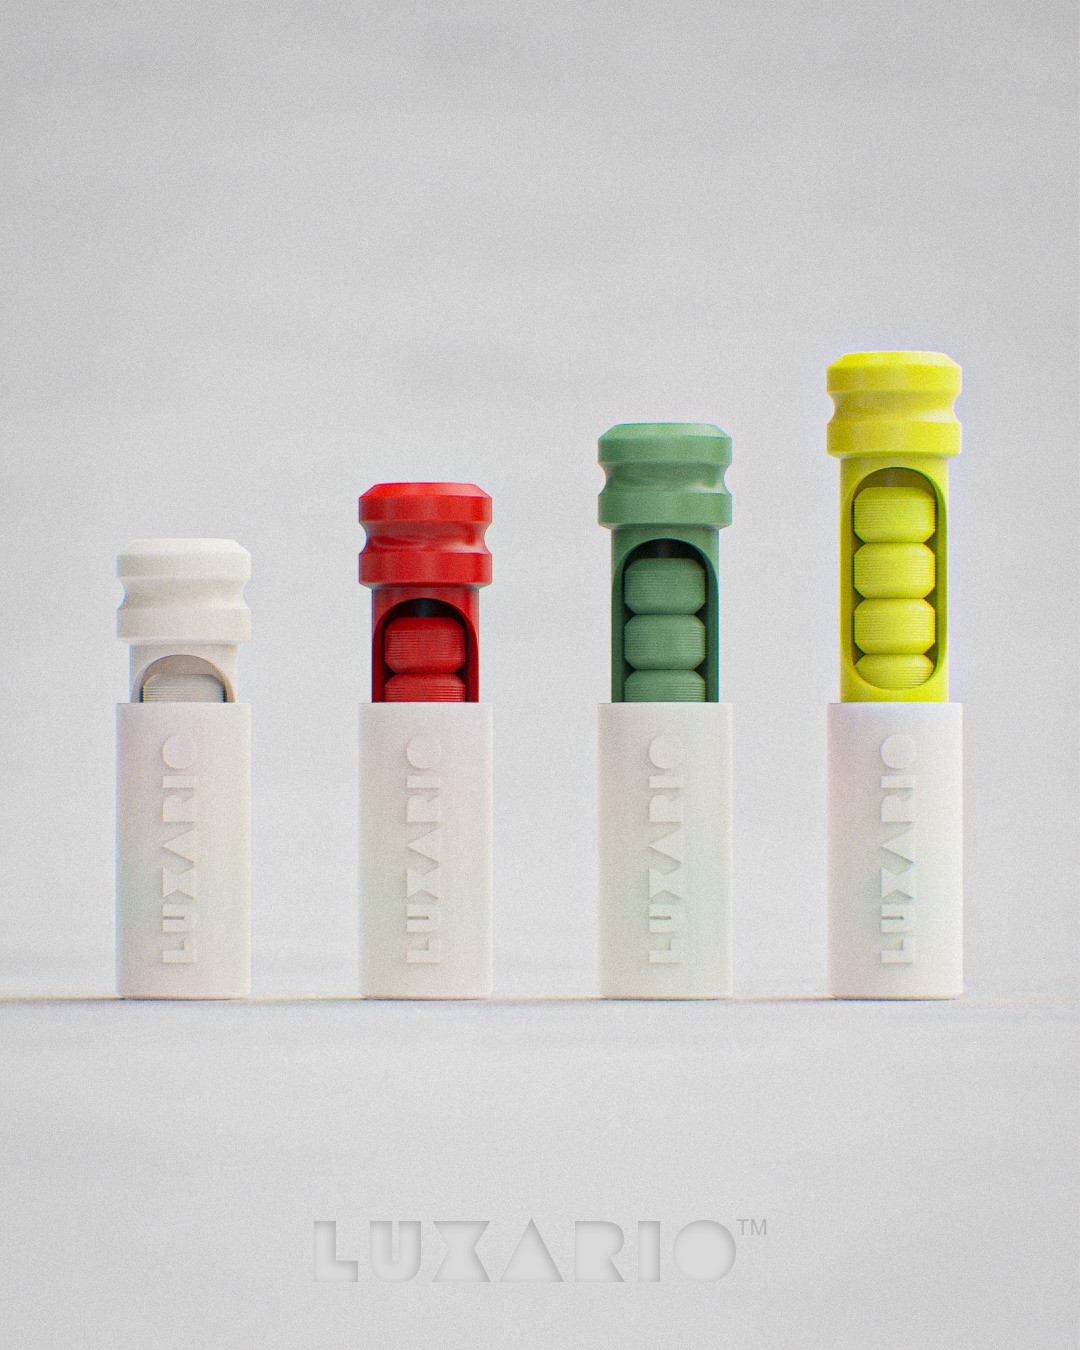
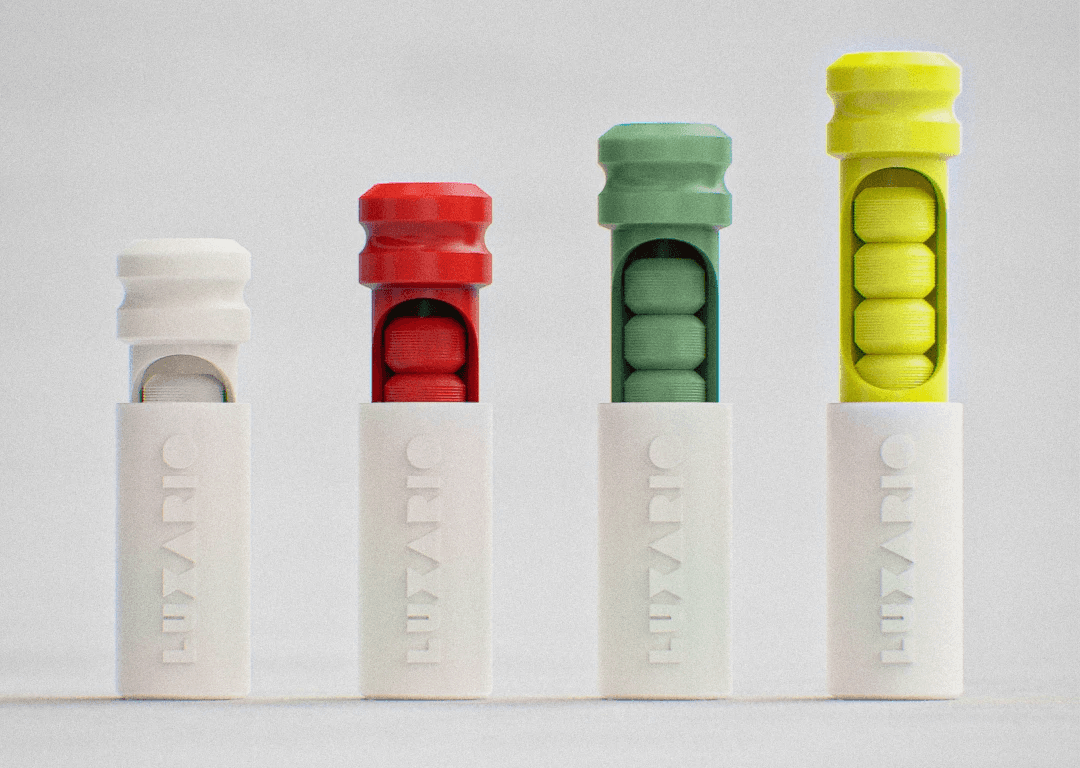
For my fourth wheel design, the Streets, I wanted to take everything I had learned from previous package designs and combine it into a design that was simple yet visually effective. In this case I ended up retaining two printed pieces, a friction-fit cap, printing directly to the build plate, creative drain holes, no magnets, and customers being able to see what color wheel was inside via a window in the top. One of the other improvements here was also only needing to produce the print in a single resin color. Whereas with all other package designs I had to use a different resin color for one of the pieces, which led to an increase in time needed to create packaging. With demand increasing at this point it was difficult to justify the time needed to produce previous types of packaging.
High Quality Bearings
Besides just creating the actual wheel material itself, there is one other huge factor when it comes to the performance of a wheel and that's the bearing inside of it. Over the past 15 years the manufacturing quality of miniature stainless steel ball bearings has increased drastically. So much so that there's an abundance of options when searching both within the United States and overseas countries such as China.
After the first few Luxario wheel teasers on Instagram I had amassed a large enough following to the point where I had gained quite a few resources to high-quality bearings that few other wheel makers had access to. This manufacturer was based in China but was a wonderful client to work with and made some of the highest performance miniature stainless steel bearings on the fingerboard market with reasonable wholesale prices.

Wheel Material & Colors
This ended up being one of those tasks that was much easier said than done. Urethane is a material that comes in a wide variety of durometers and types, essentially defining how hard or soft the urethane is. Within the fingerboard community there is an intense desire for wheels that are more hard than soft to retain crisp sounds, but also soft enough to produce a loud screeching sound when sliding them on most surfaces. The most popular urethane durometer being 70D-72D to produce said results. And not just that, but this material needed to be durable, which most 3D printing resin is considered not to be. Urethane is a tough material to replicate.
After purchasing and testing many different types of resins, I ended up concocting a completely custom formulation of multiple different unique resins, one of which was custom manufactured for me. The mixture of these resins in specific ratios resulted in a very standout 68D durometer material that not only replicated urethane really well, but it was also very squeaky when sliding. I ended up calling this material Luxethane.
So I figured out the material formulation, but what about the colors? After all I wanted to be able to come up with unique and vibrant colors that couldn't really be found anywhere else. Well that's where 3D Resin Solutions came in very handy. They produce a CMYK + W color pigment set made specifically for 3D printing resins. And man does this pigment set work really well.
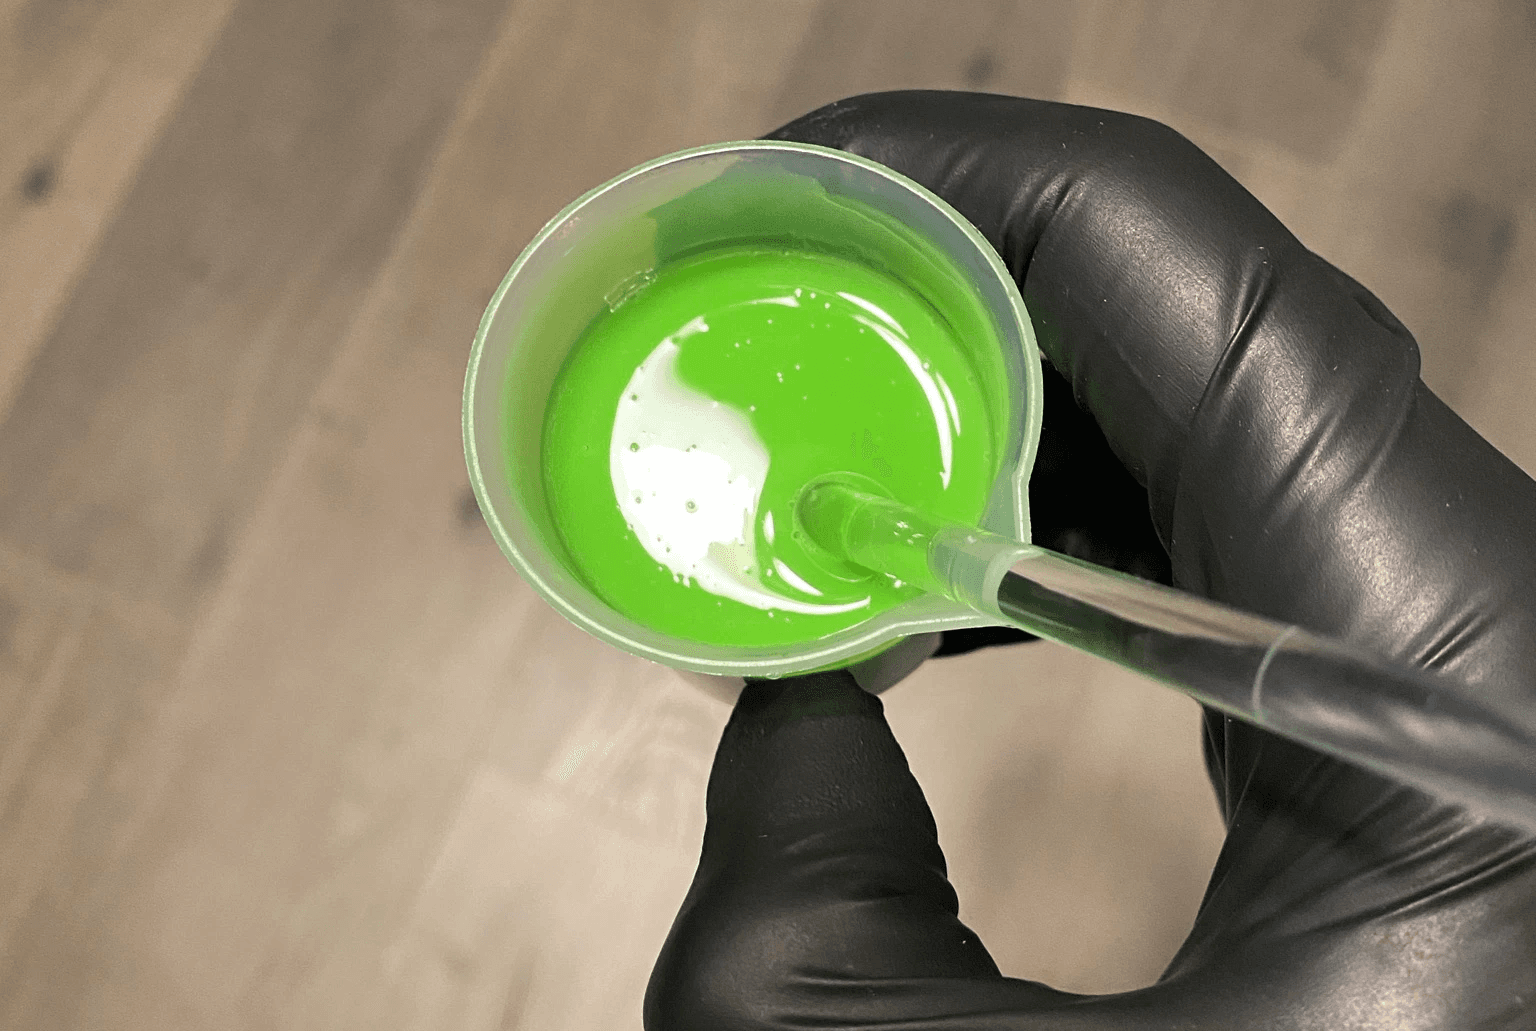
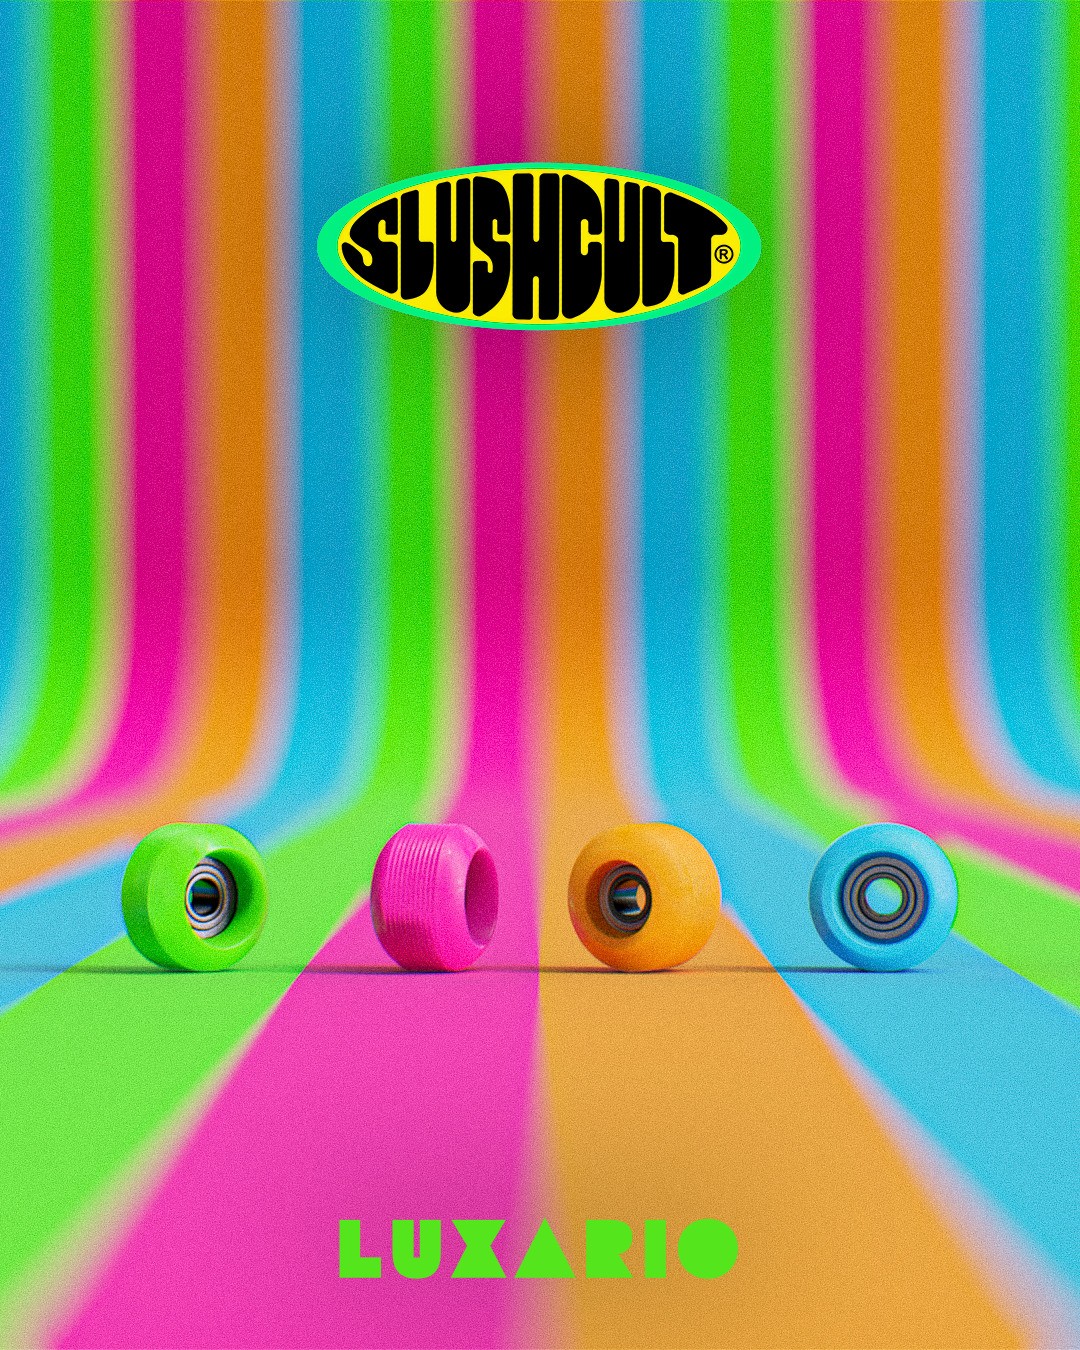
Through much trial and error, and spreadsheet documentation of pigment weight ratios, I would eventually determine the pigment mixtures with my custom resin formula to define the vibrant and unique wheel colors that I was going for. This also allowed for an endless variation of marketing potential as I could come up with a color scheme for events, seasons, or partnerships. One of those first partnerships being with a popular brick-n-mortar fingerboard/apparel brand in SoCal named Slushcult.

Custom Tooling
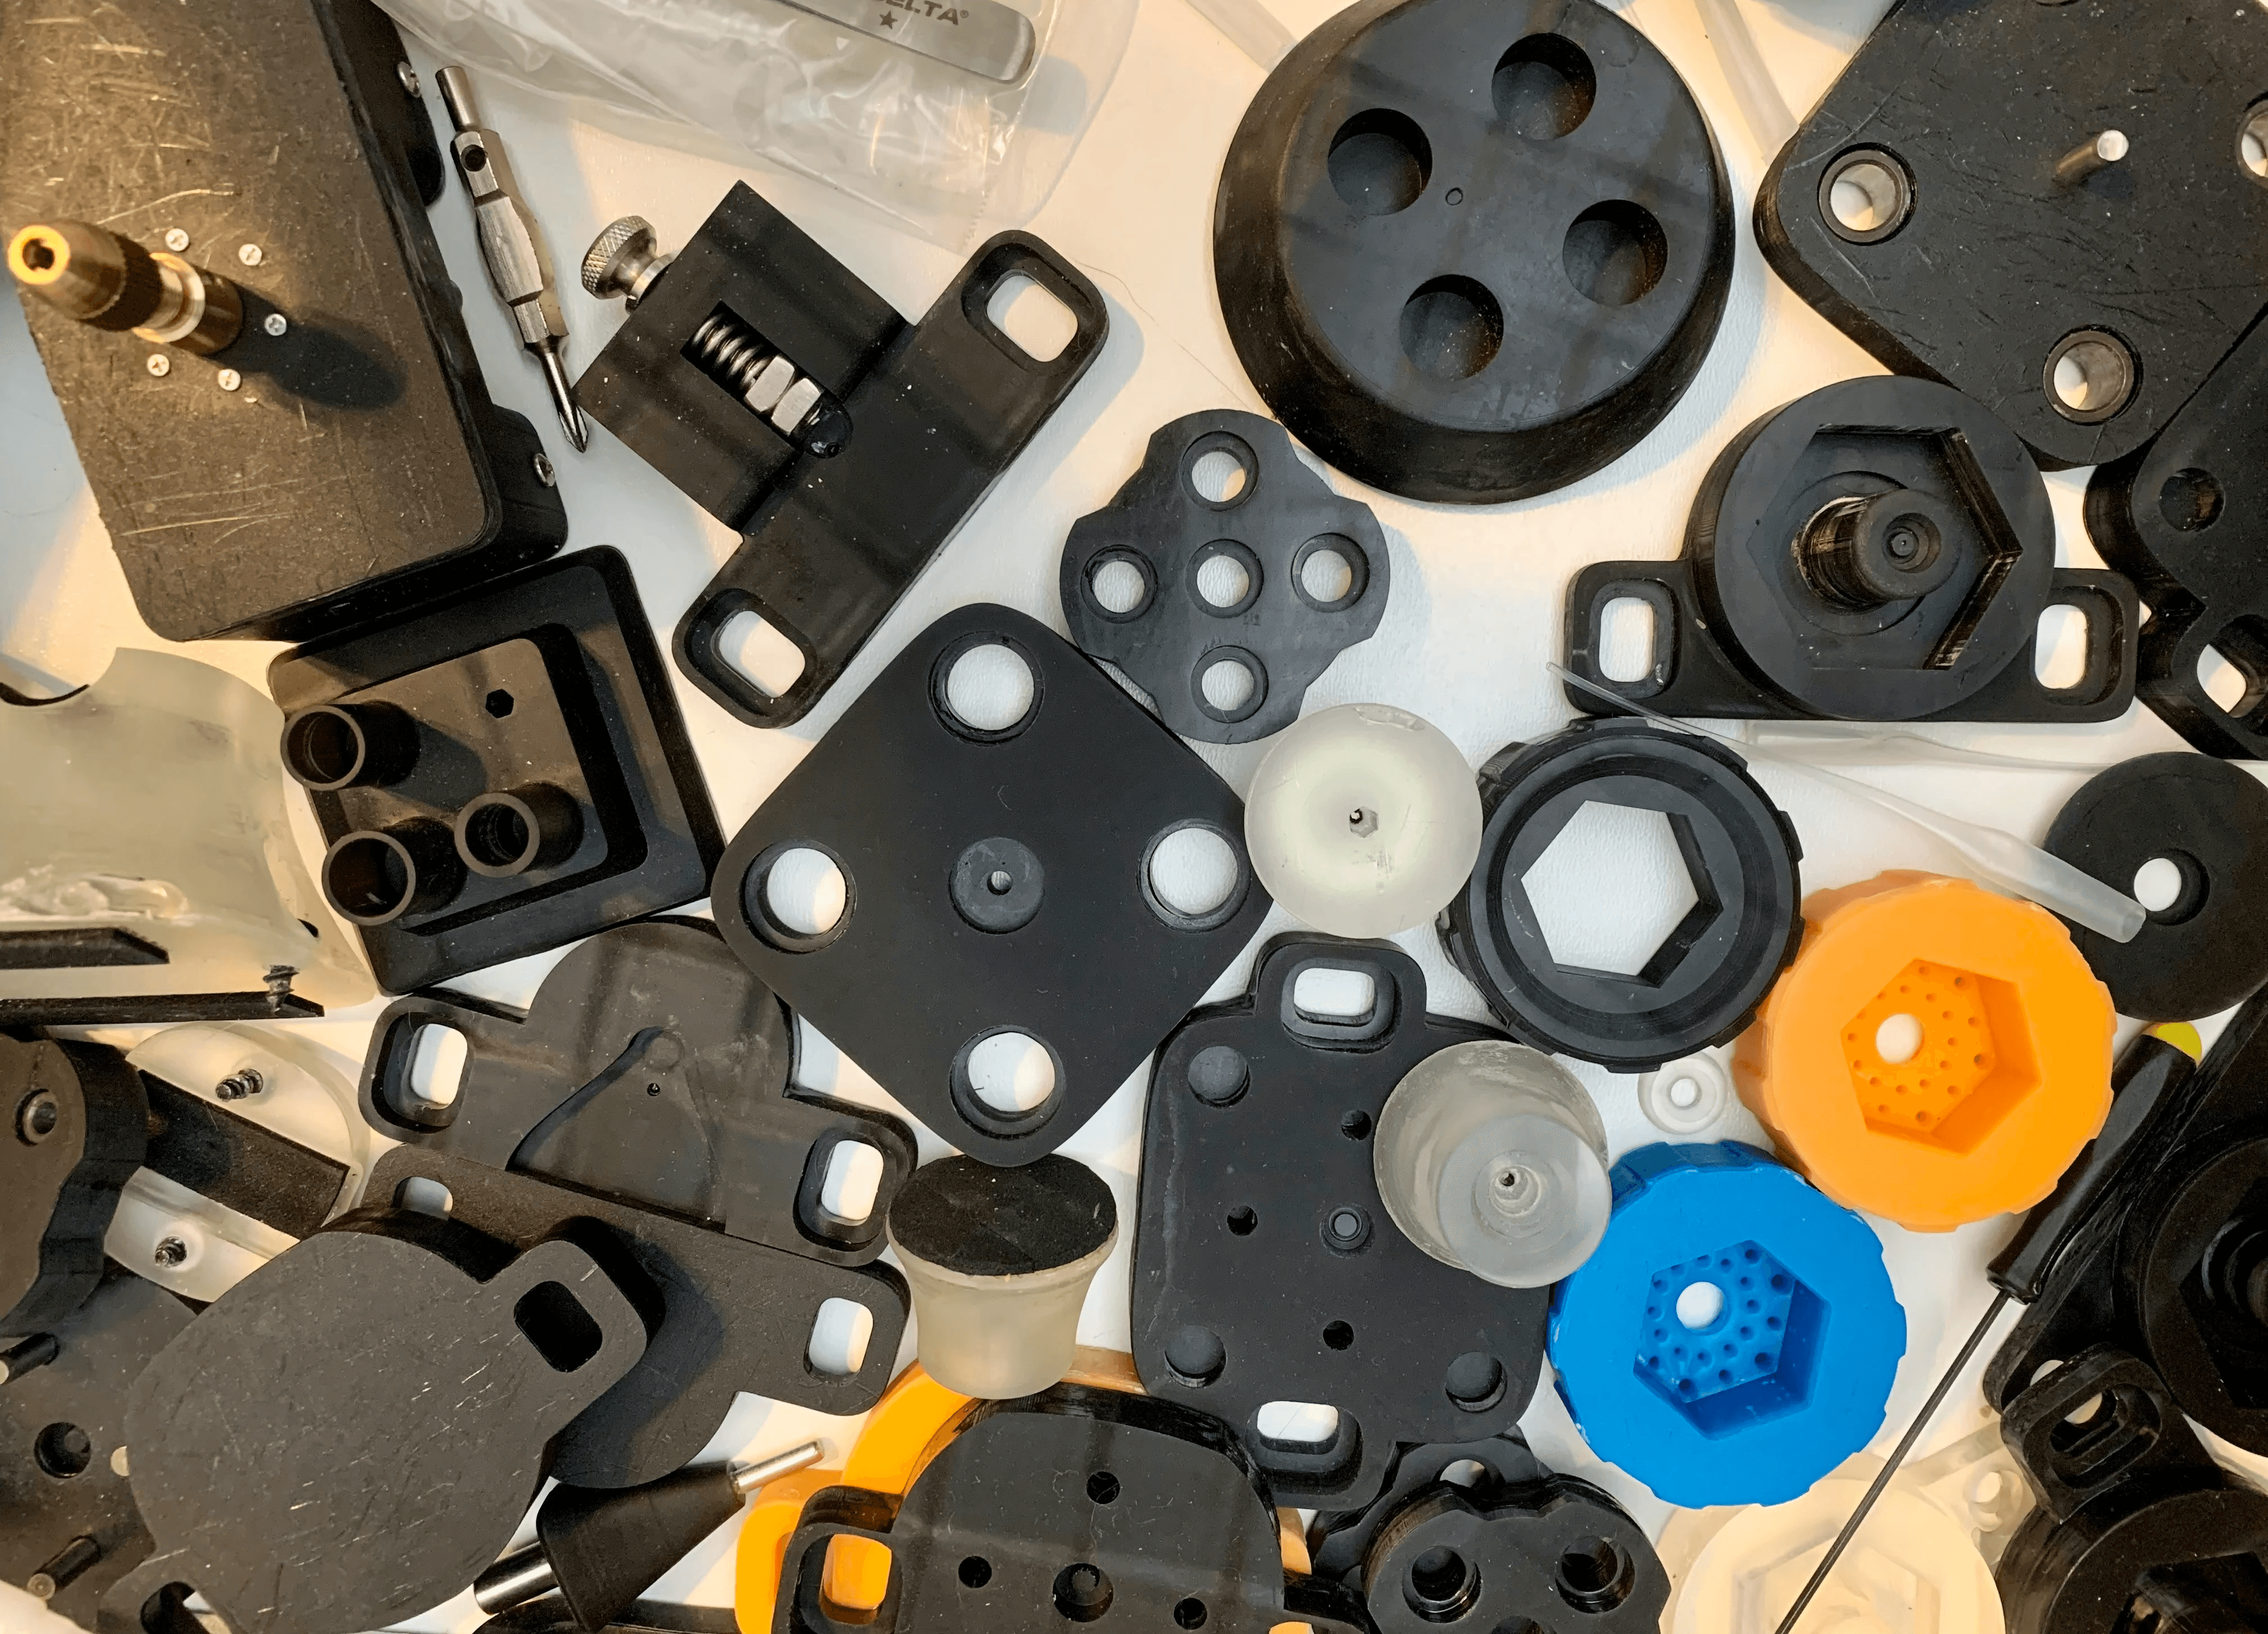
What you see above is just a fraction of the drawers of failed tooling prototypes custom designed and printed by me in order to increase my wheel production efficiency. The primary tools that I focused on to increase productivity was bearing insertion.
Bearing Insertion
This could easily be a huge section that goes into why keeping a miniature stainless steel bearing inside of a fingerboard wheel is an incredibly difficult nut to crack. Instead of boring you with the details of why it's such a huge problem in the industry, I'll go into how I got as close to solving it as possible.
I ended up coming up with something I called TrueLock. This design essentially ends up using angled ridges to "hug" the bearing outer race from both sides, for the lack of a better word. This means that both inward and outward lateral forces shouldn't cause the bearing to slip out. The following image does a pretty good job at summing this design system up.

Though what came with this novel design was the rabbit hole question of "how do I get the bearing in there?". Oh boy did this end up being a fun problem to solve. I needed to be able to press the bearing into the wheel at the exact same location every time without:
Rupturing the wheel material
from the back
radially
causing off-axis bearing rotation
which could also rupture the wheel material
breaking the bearing
This is ended up being quite the journey of how to best balance insertion forces, material properties, tolerances, and the actual shaping of the wheel design itself. The following images are what that journey of failed attempts looked like.

I went from relatively trivial solutions all the way to starting to realize I needed to get more industrial with my designs. Thankfully McMaster exists, because it made this entire tool design process magnitudes easier. Being able to download exact CAD models of the parts before purchasing allowed me to better fully realize the functionality of my creations before actually turning them into a reality. The following design is what ended up solving my TrueLock bearing insertion problem.
You'd think a solution like this would be pretty overkill but this problem demanded so much accuracy and near-perfect tolerances that it seemed to be the only solution at the time, so I stuck with it. This design prevented any material ruptures, any off-axis bearing rotation, predictable insertion forces, repeatable stopping distances, and also allowed for the drive plate to automatically lift back up due to the spring system.
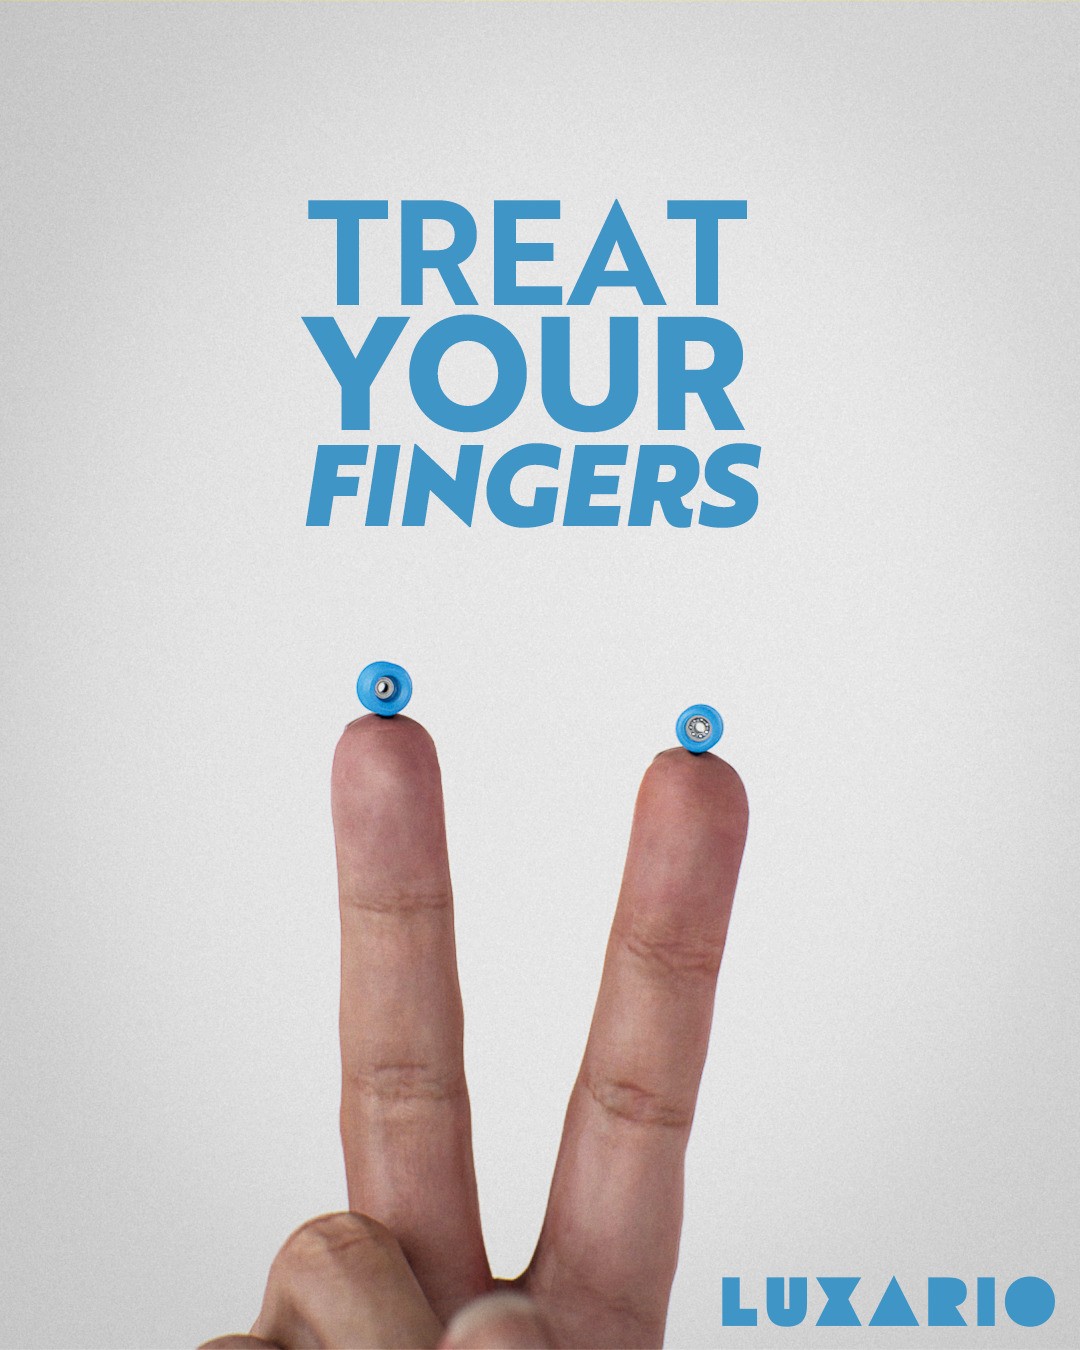
Marketing
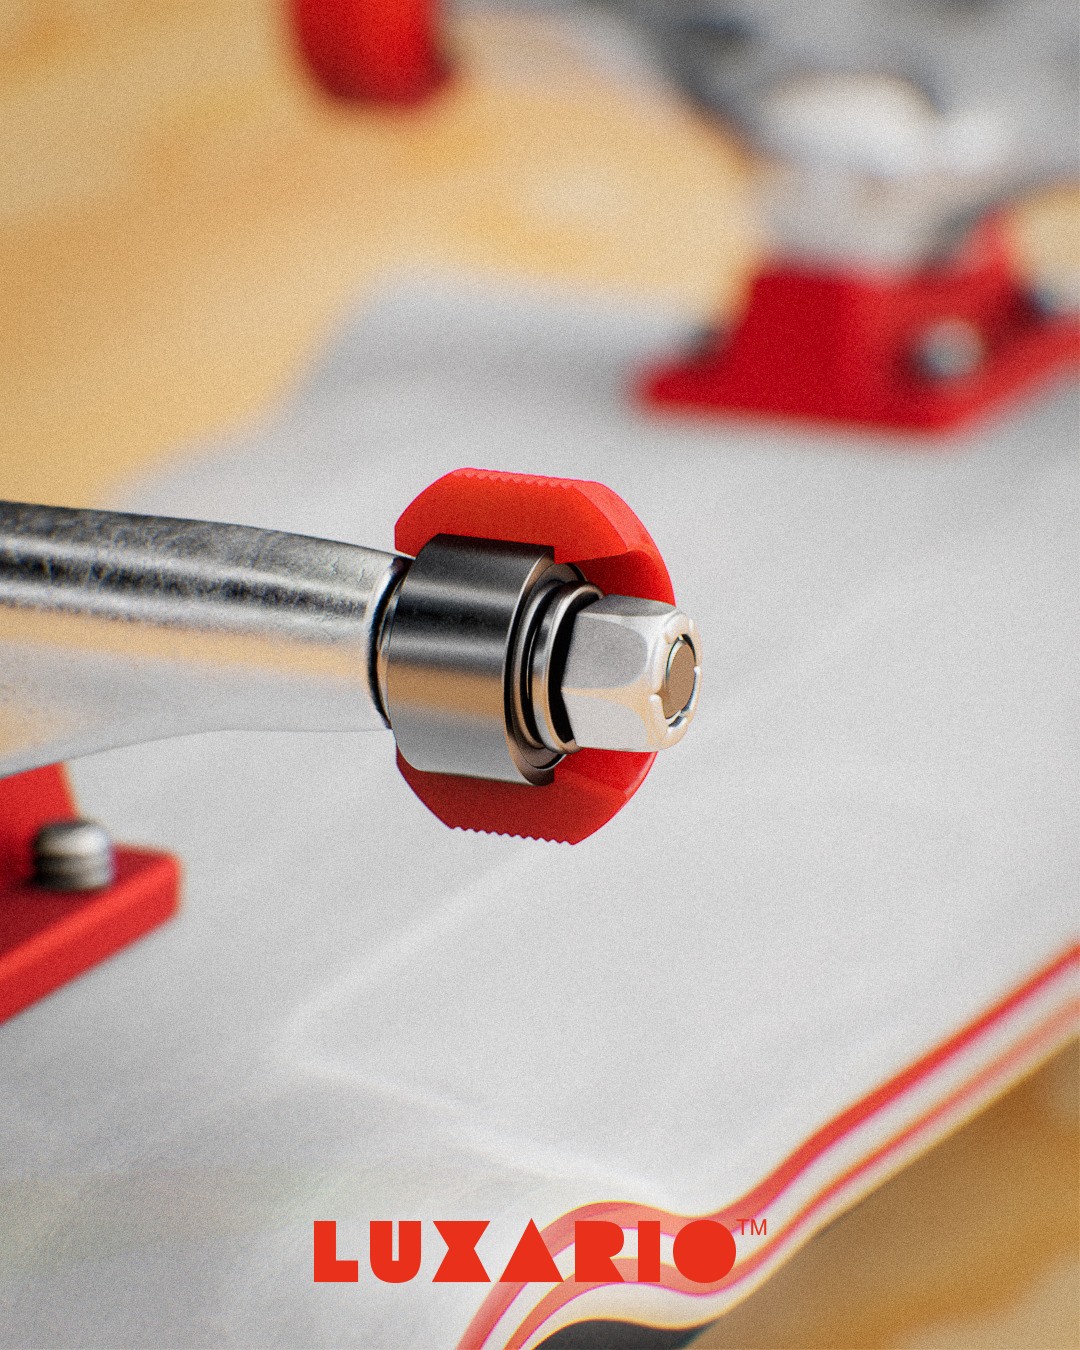
I knew that when I started working on Luxario wheels that I wanted the brand to be seen as premium and exclusive. If you were able to get ahold of Luxario wheels then that meant you were someone in the scene. In order for me to achieve this I needed to create a hype campaign using unique and eye-catching content. What better way to do this than to use a real-time game engine with ray tracing to create fantastical, and near photoreal renders almost as fast as I could imagine them?
As seen above, I ended up creating an entire blueprint construction script system that intertwined with the materials and meshes of the wheels, deck, trucks, etc so that I wasn't as dragged down when trying to create specific ideas for marketing content. After getting a shot that I thought looked nice I'd then create a sequence with the cine camera that I was piloting and render out a single frame via Movie Render Queue, alongside a plethora of additional rendering features to increase the quality that much more from what's seen in the real-time viewport. This allowed me to churn out over a week's worth of Instagram content in just a few hours.
And with that workflow created it gave me creative freedom to think up just about whatever advertisements I thought would fit the brand and catch peoples' eyes while scrolling through their feed on Instagram. And catch peoples' eyes it did. Within just a day of my first post using zero paid promotions on Instagram, the Luxario account accumulated almost 1,000 followers. Word started to organically spread that there was not just a new wheel company on the scene, but one that appeared to be doing things differently.
My initial 2-week long hype campaign ended up amassing almost 2,000 followers before I had even had my first stock drop. It was one thing to conjure up this brand in my own bubble and have high hopes for it, but totally something else to watch it skyrocket (relatively speaking of course) within just a matter of weeks after putting it out there for everyone to judge. Luckily the initial launch went very smoothly, with stock selling out in minutes and no hitches in the shipping logistics or website backend.
Luxario was an incredibly informative learning experience that taught me an incredible amount about patience, new Unreal Engine real-time rendering techniques, product design, packaging design, 3D printing, fluid dynamics, web design, customer relations, partnerships, wholesale, shipping logistics... the list goes on. This was a truly awesome adventure that unfortunately had to come to an end due to needing more free time while having less of it.
year
2020
timeframe
8 months
tools
3ds Max, Resin 3D Printers, Unreal Engine, Photoshop, After Effects
category
Personal Project
01
02

03

see also